1 · Prepare
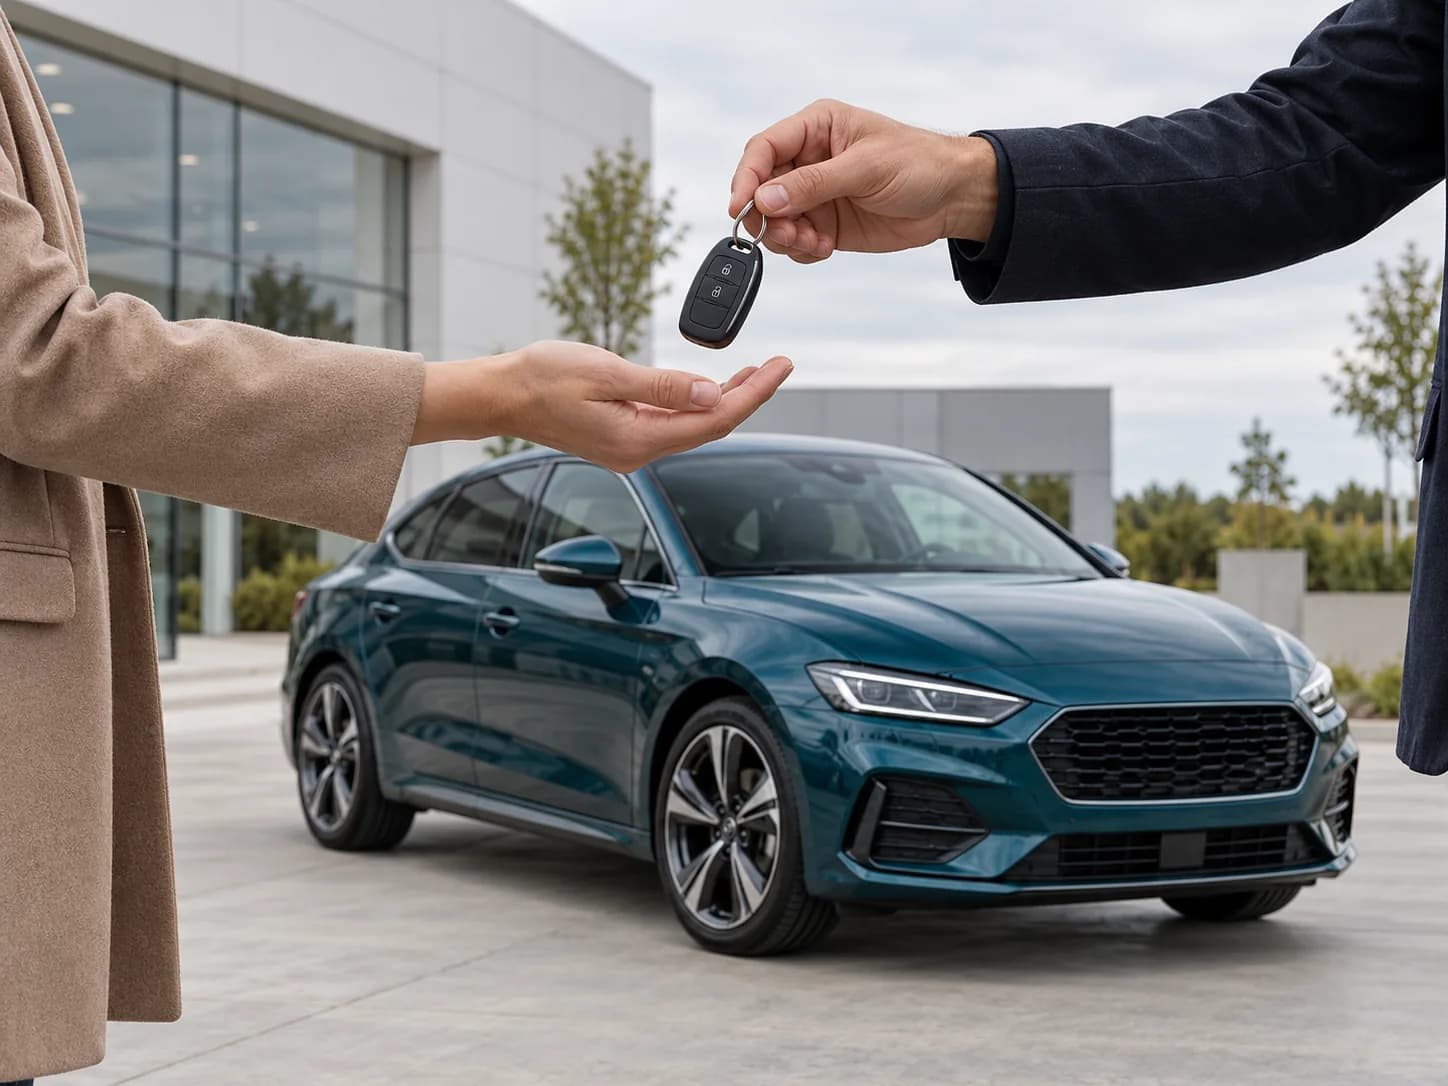
Clean the car and remove visual distractions.
Wash and dry the bodywork, clean the windows and wheels, empty personal items from the cabin and close every door, window and storage area. Keep the vehicle in the same configuration throughout the exterior series.
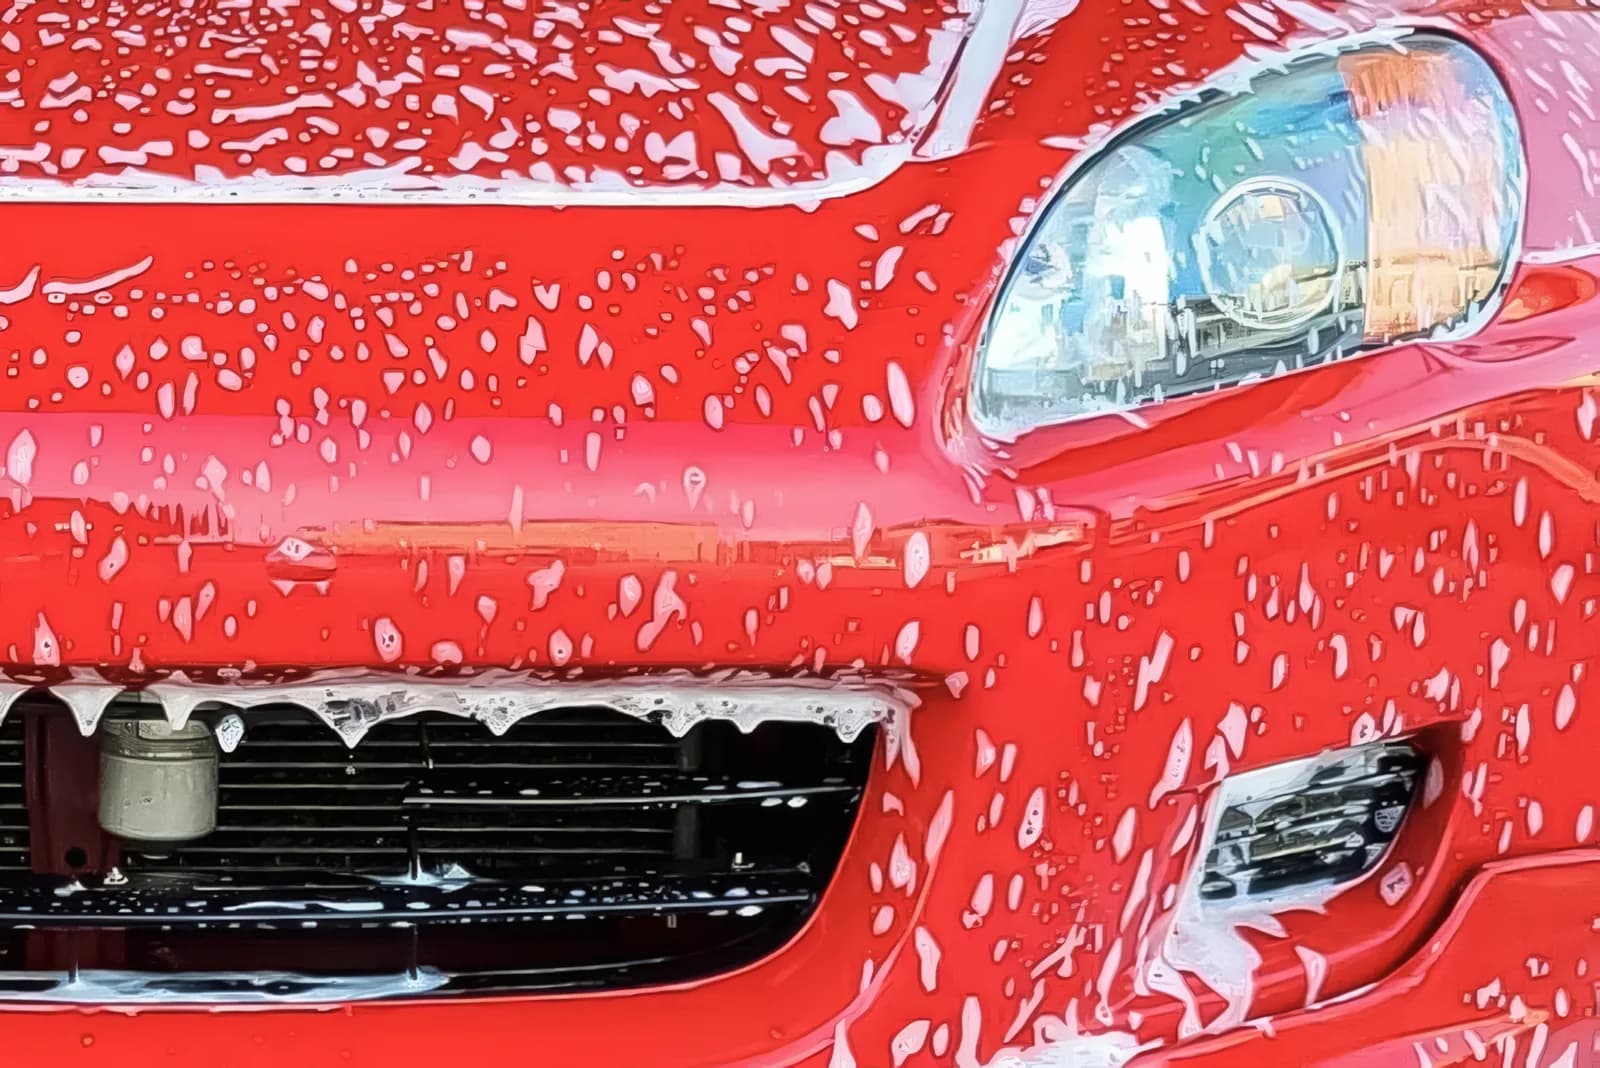
Clean bodywork
Dust and water marks can look like paint defects and make reflections harder to read.
Clear the cabin
Remove cables, bottles, paperwork and personal items before photographing the interior.
Keep one configuration
Use the same roof, windows, steering and light position across the main exterior views.
2 · Choose the setting
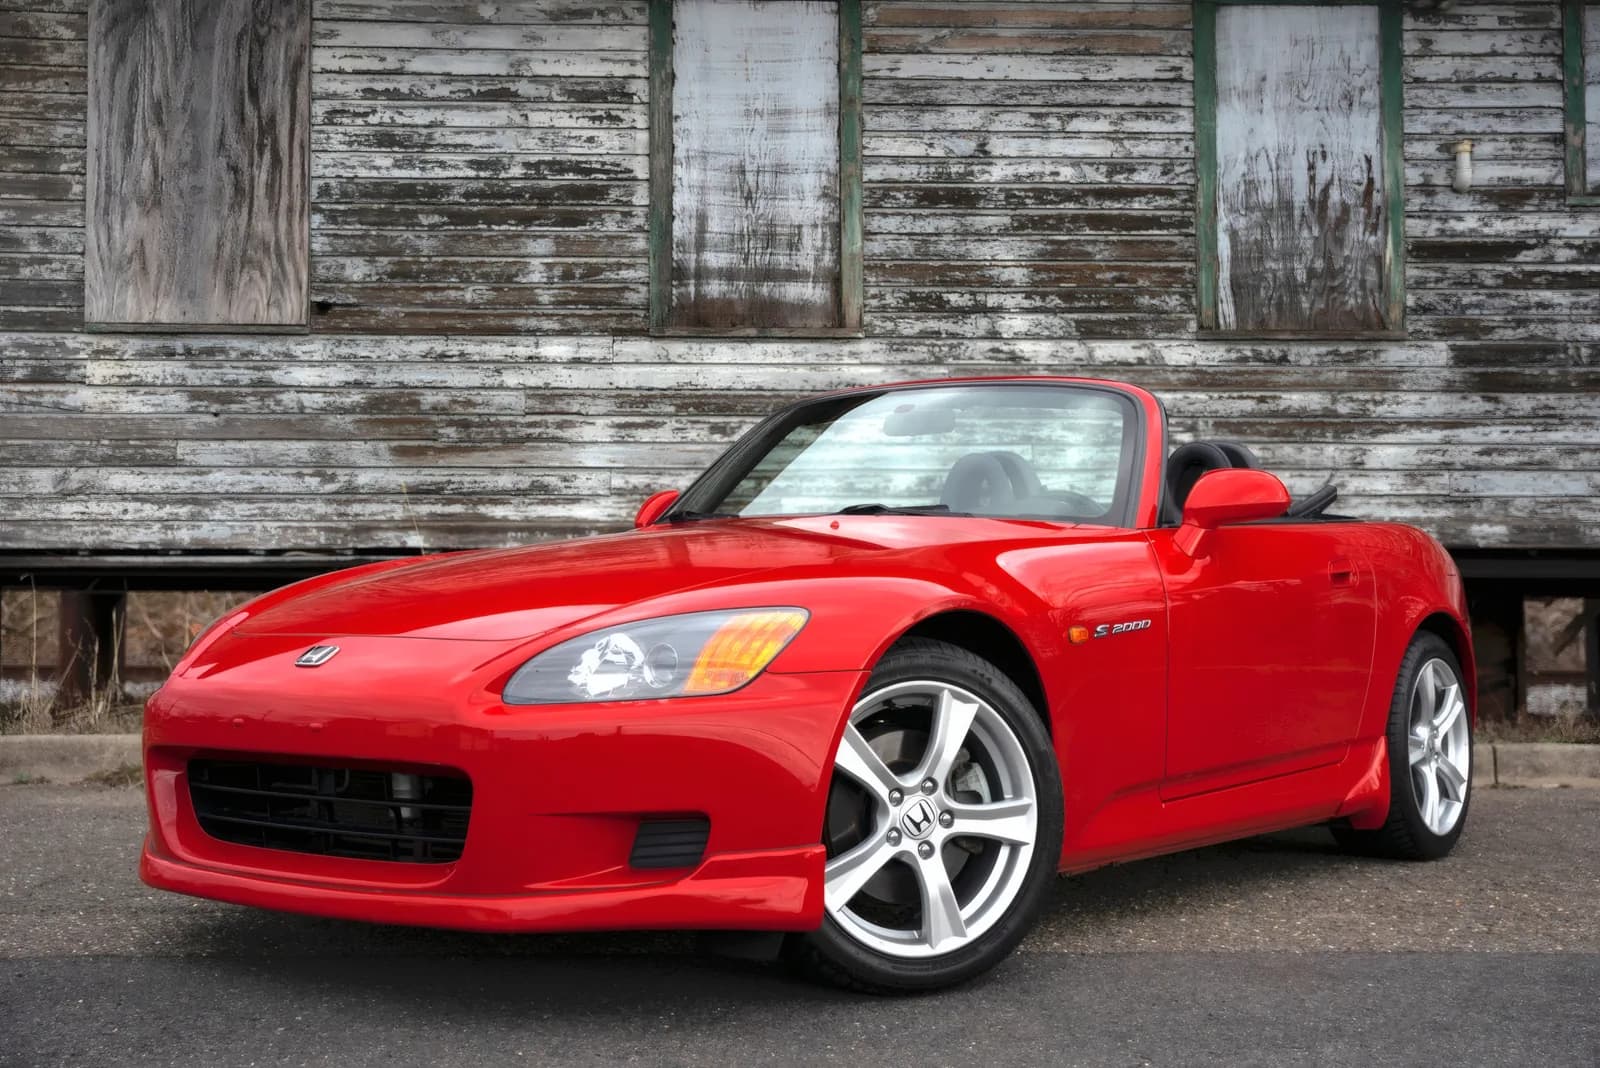
Use open space and soft, even light.
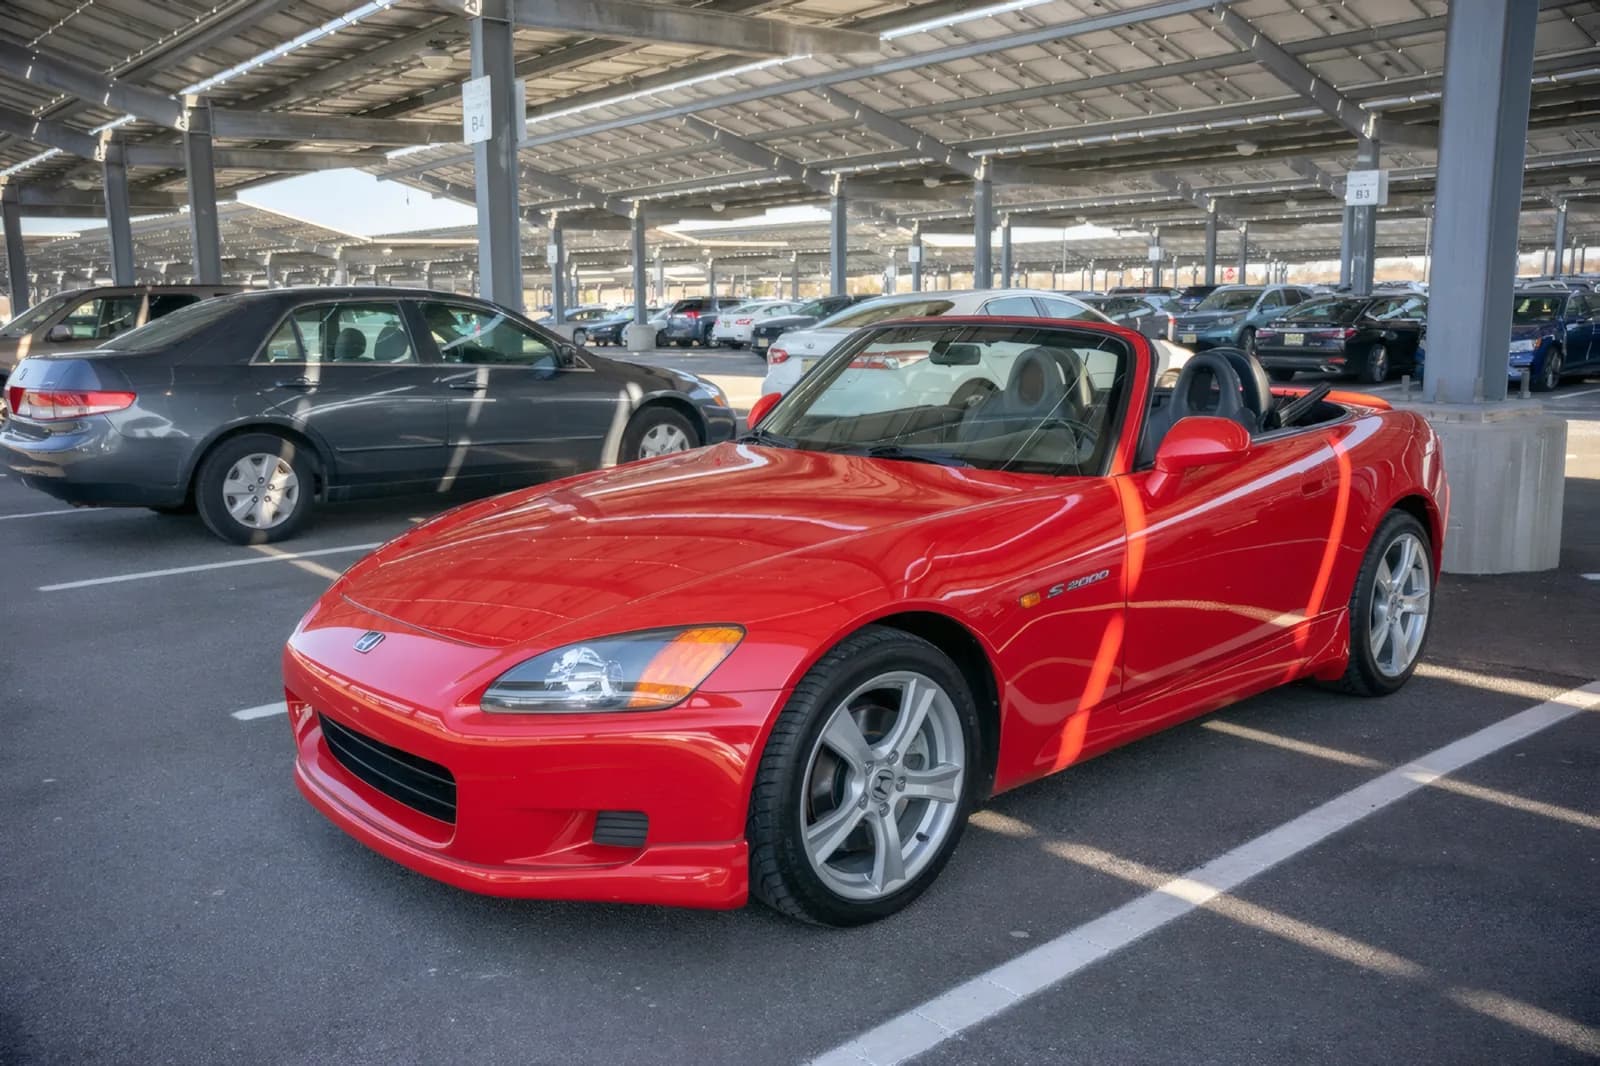
Park on firm, level ground with room to walk around the car. Choose an uncluttered background and photograph in bright overcast light or open shade. Avoid midday glare, deep shadows across the body and mixed lighting.
Turn off filters, portrait mode and digital zoom. Clean the phone lens before you begin.
3 · Frame every shot the same way
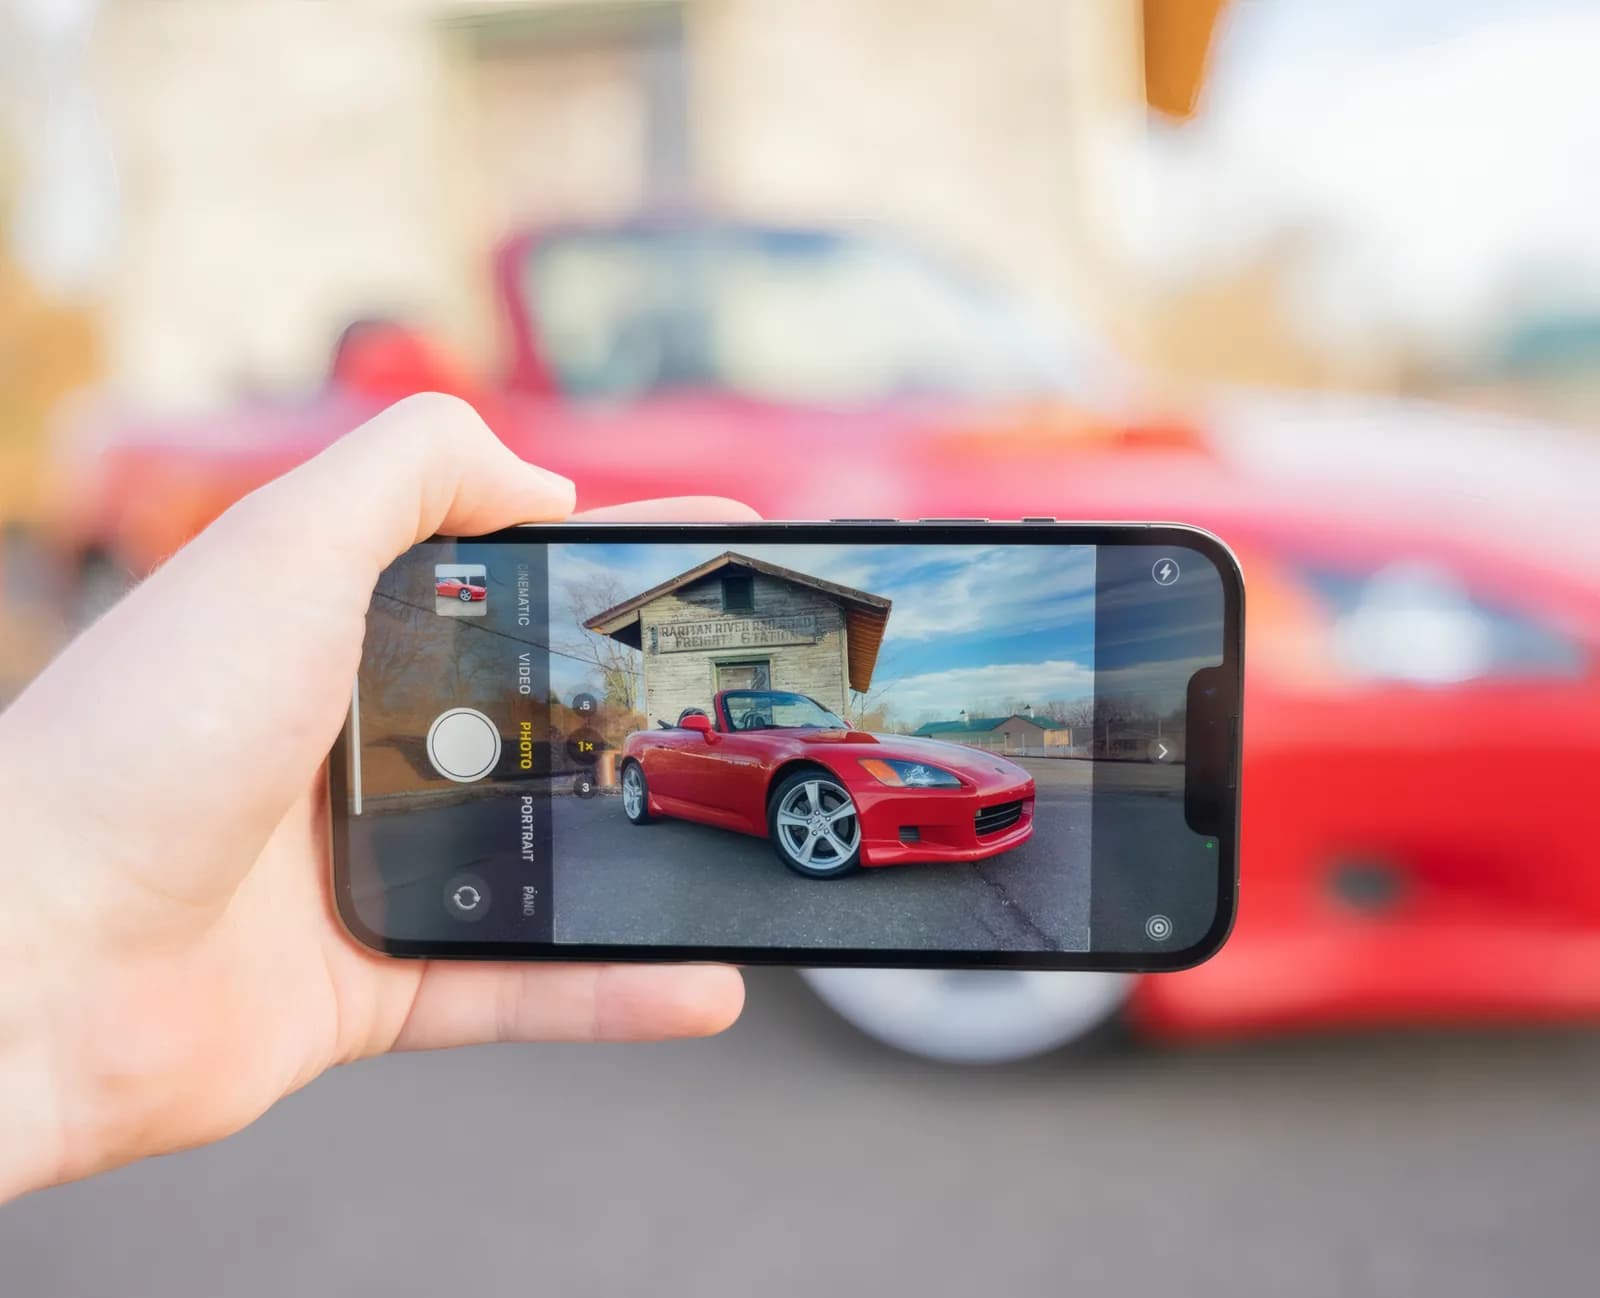
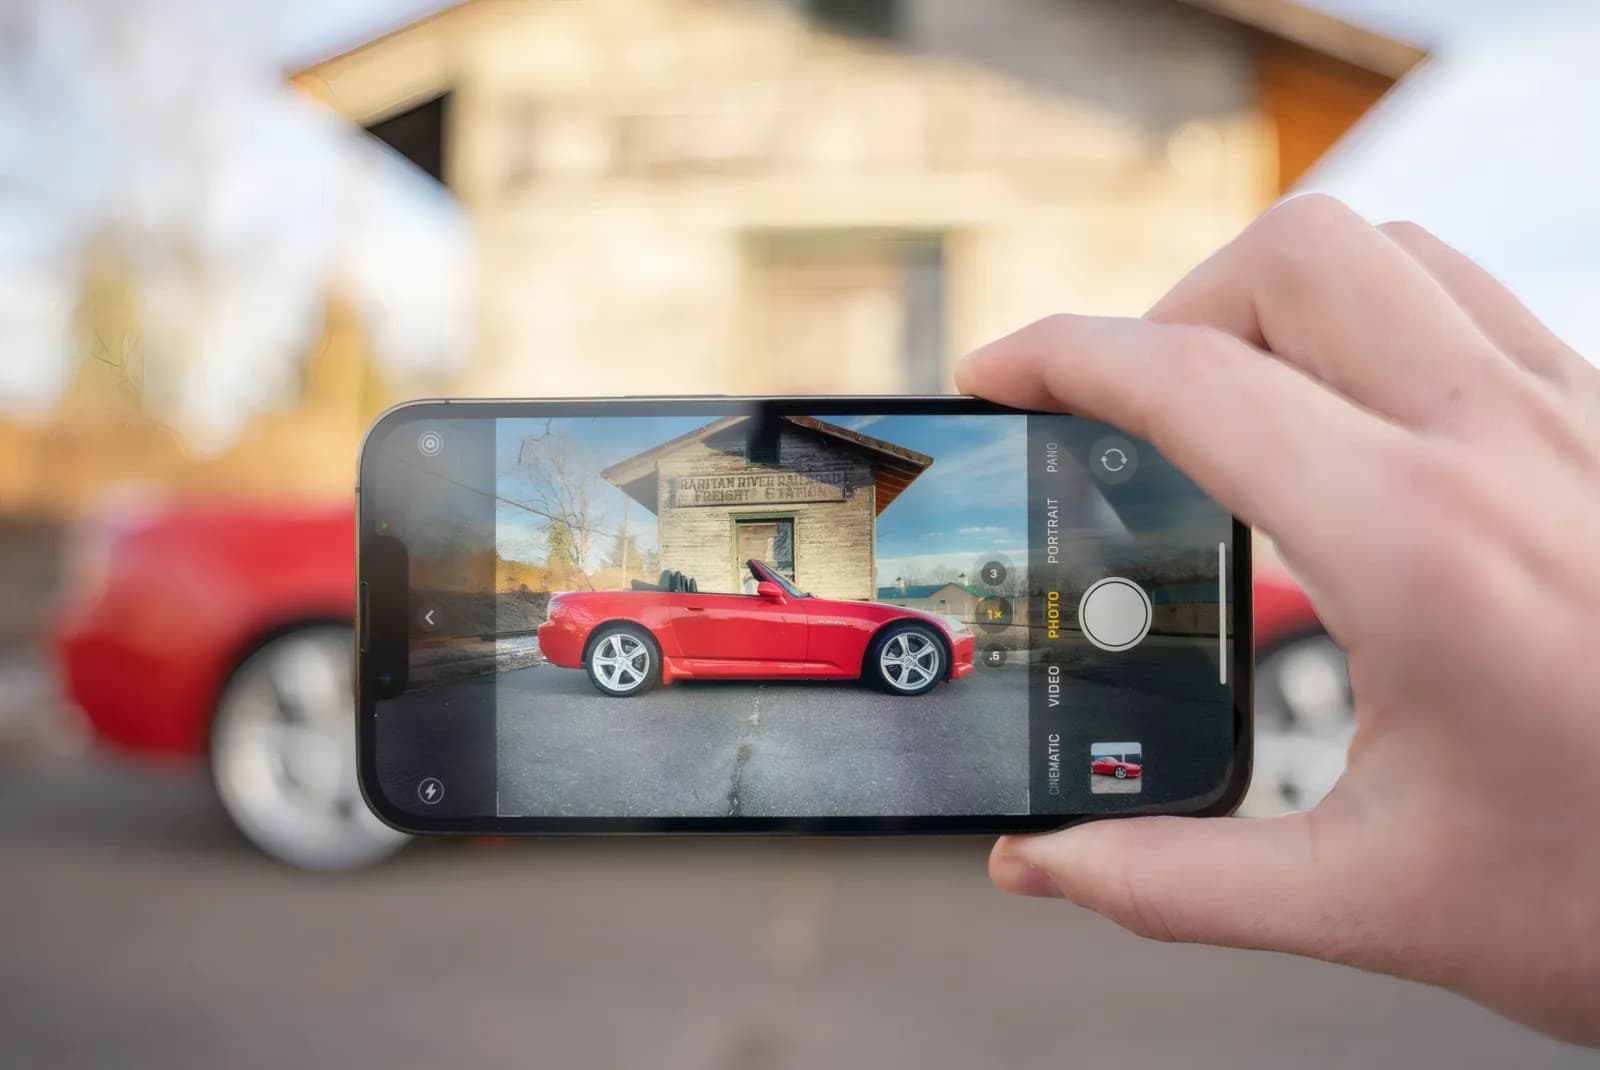
Hold the phone horizontally, level and at a natural height.
Use the standard 1× lens, keep the horizon straight and stand far enough back to fit the complete vehicle with breathing room. Keep the camera around waist-to-chest height and match distance and height from one view to the next.
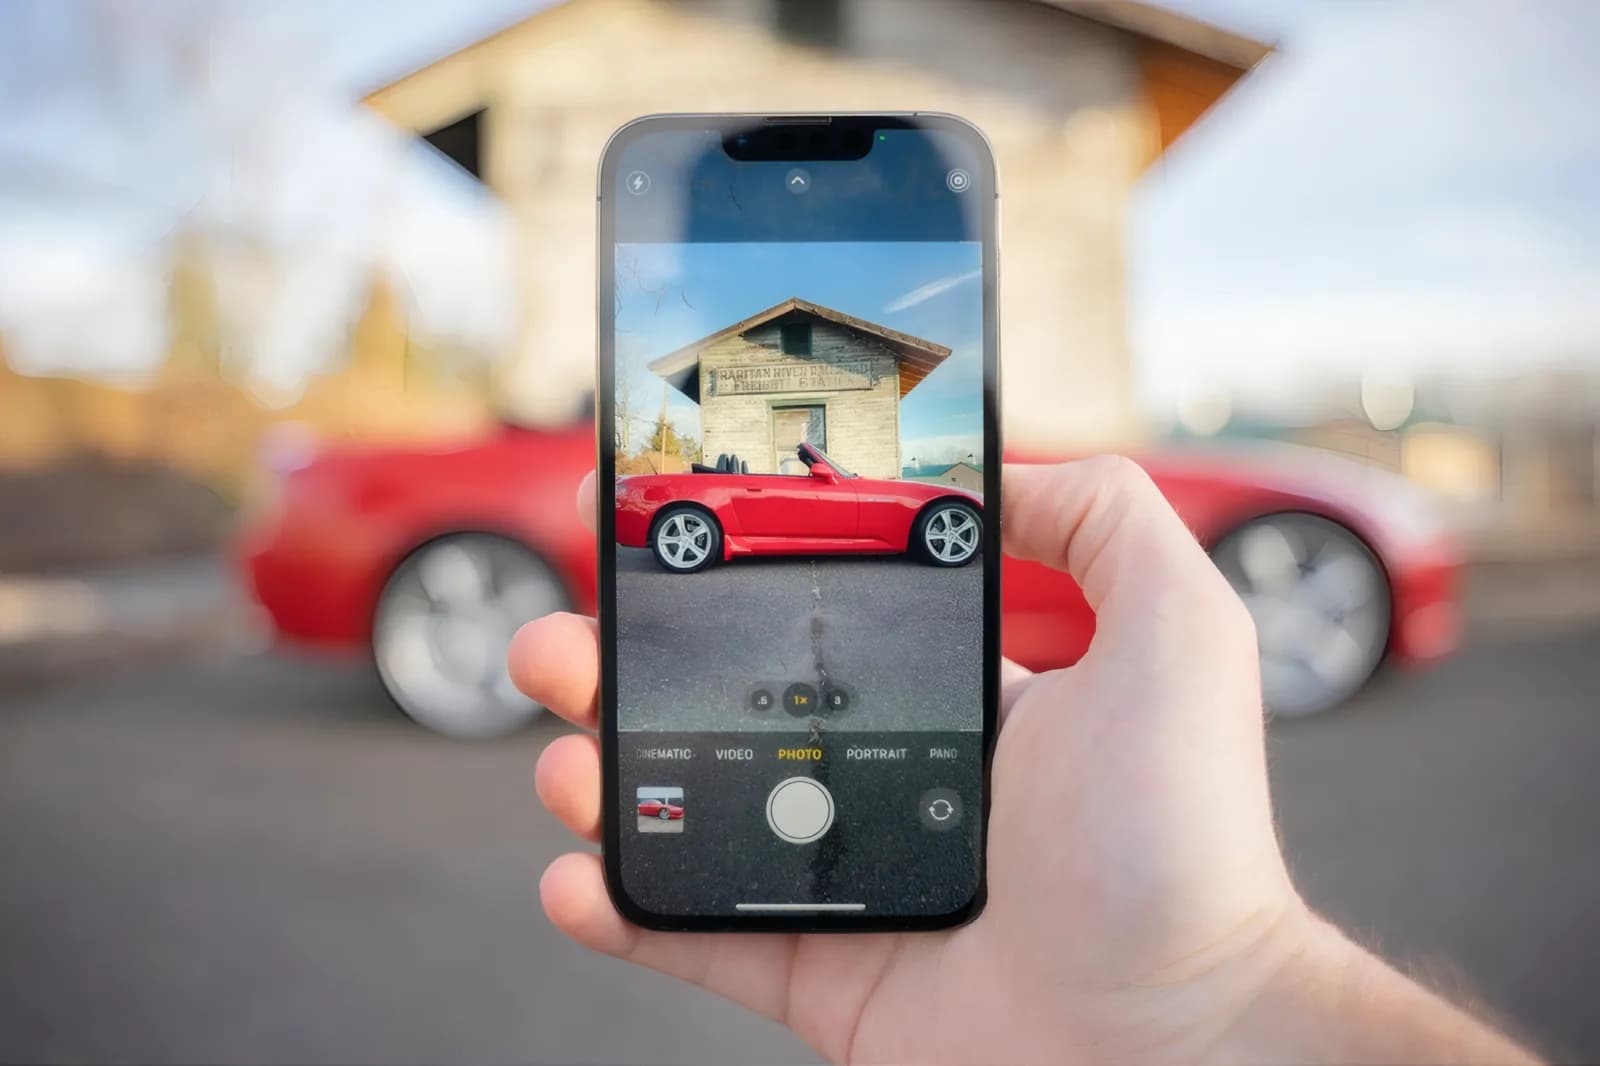
Landscape orientation
A horizontal frame fits the full vehicle and creates a consistent listing gallery.
Straight and level
Keep vertical lines upright so the vehicle does not look tilted or stretched.
Use the 1× lens
Ultra-wide lenses exaggerate bumpers, wheels and body proportions; digital zoom reduces detail.
Leave a safe margin
Do not crop mirrors, bumpers, wheels or the roof. A later background change still needs complete source pixels.
4 · Exterior walkaround
Capture the same 8 exterior views in one continuous walkaround.
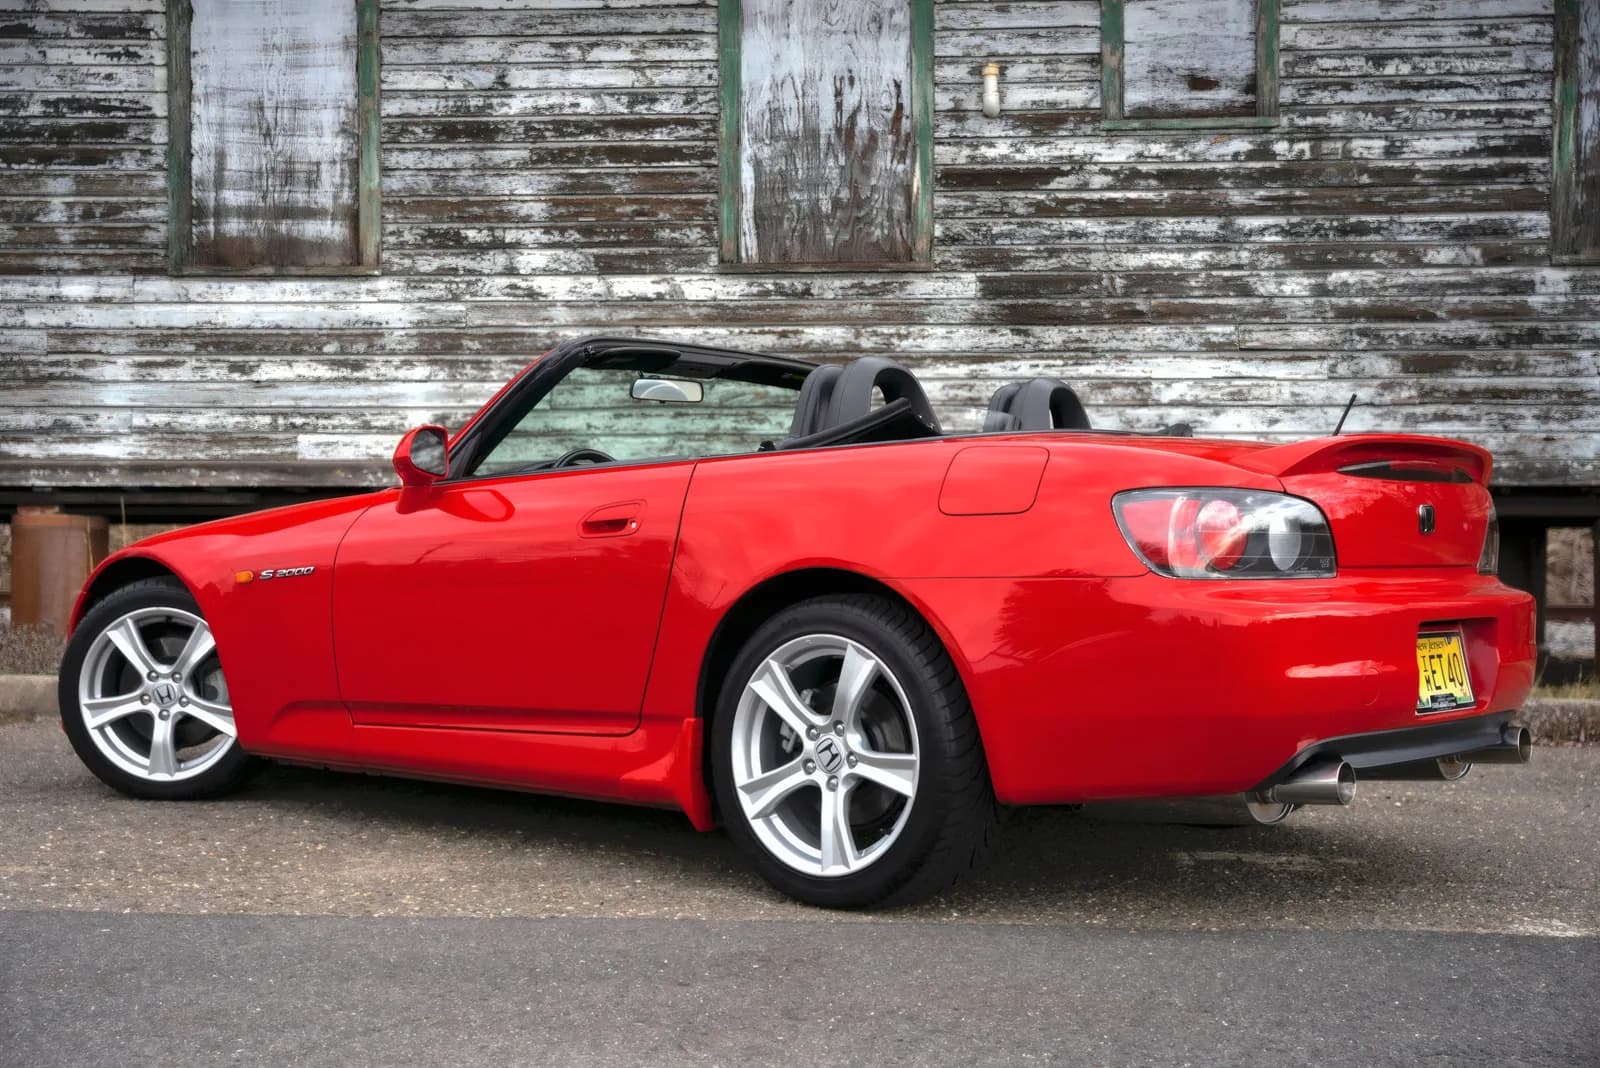
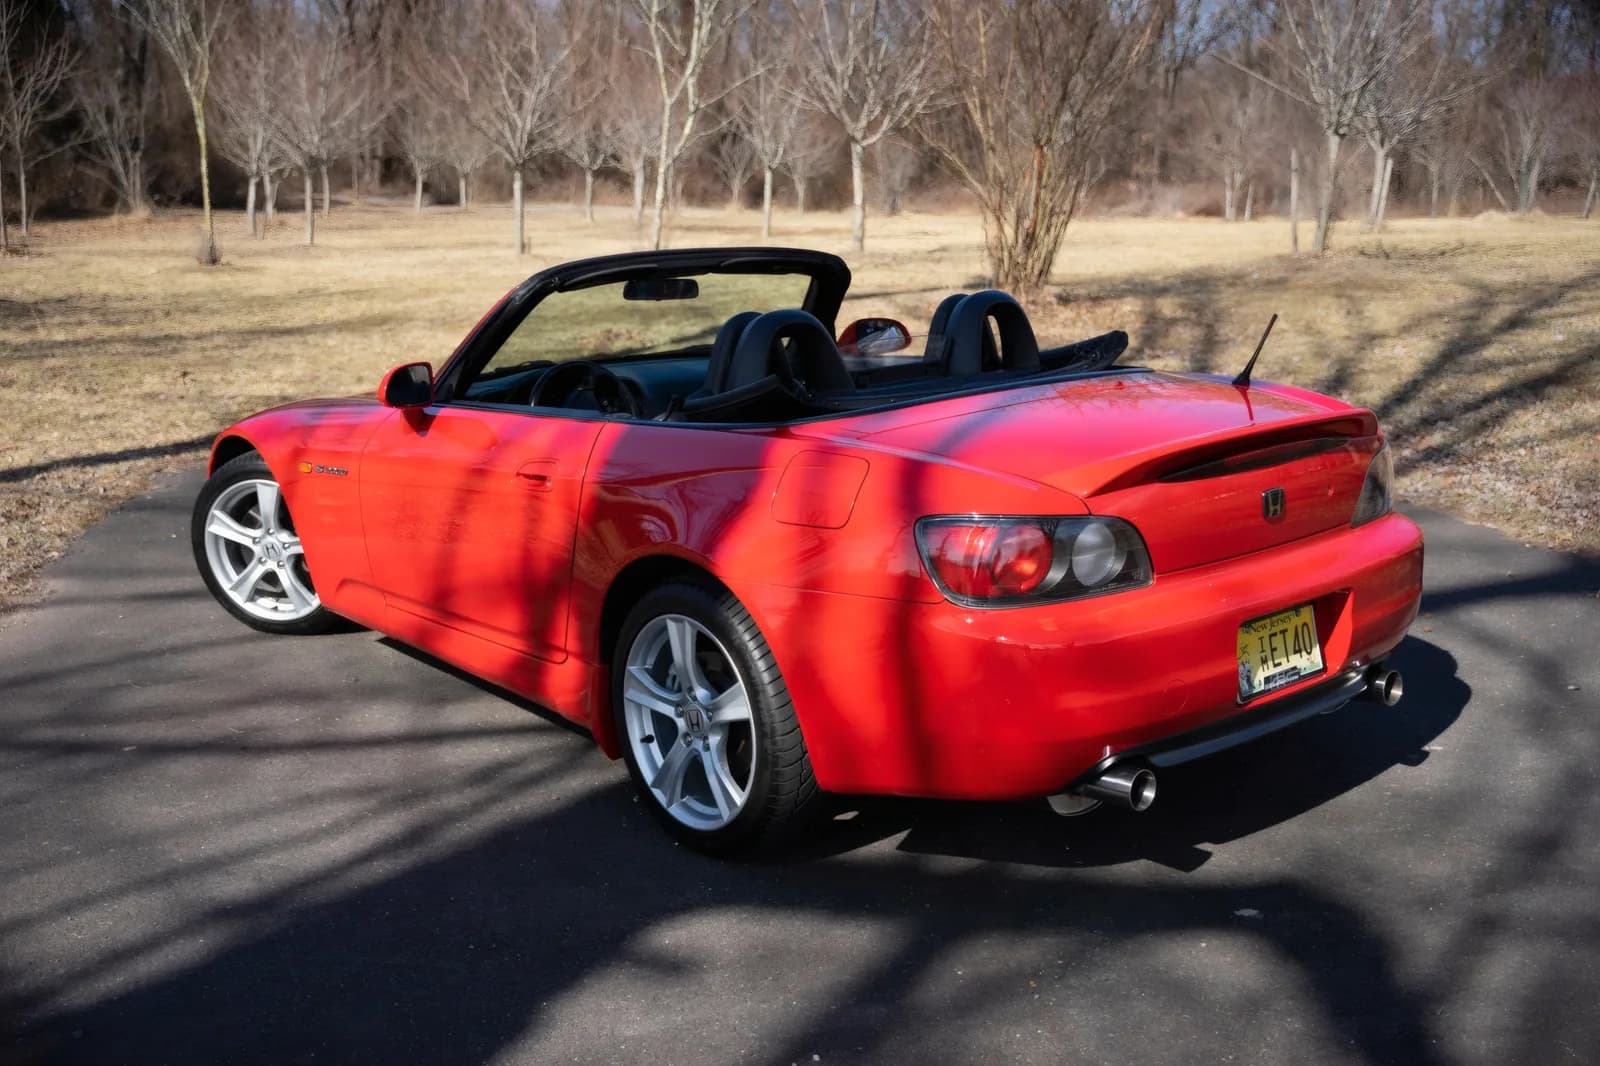
Start at the front, move around the car in one direction and keep a similar distance. The four three-quarter angles explain shape best; straight front, rear and side views make proportions and alignment easy to compare.
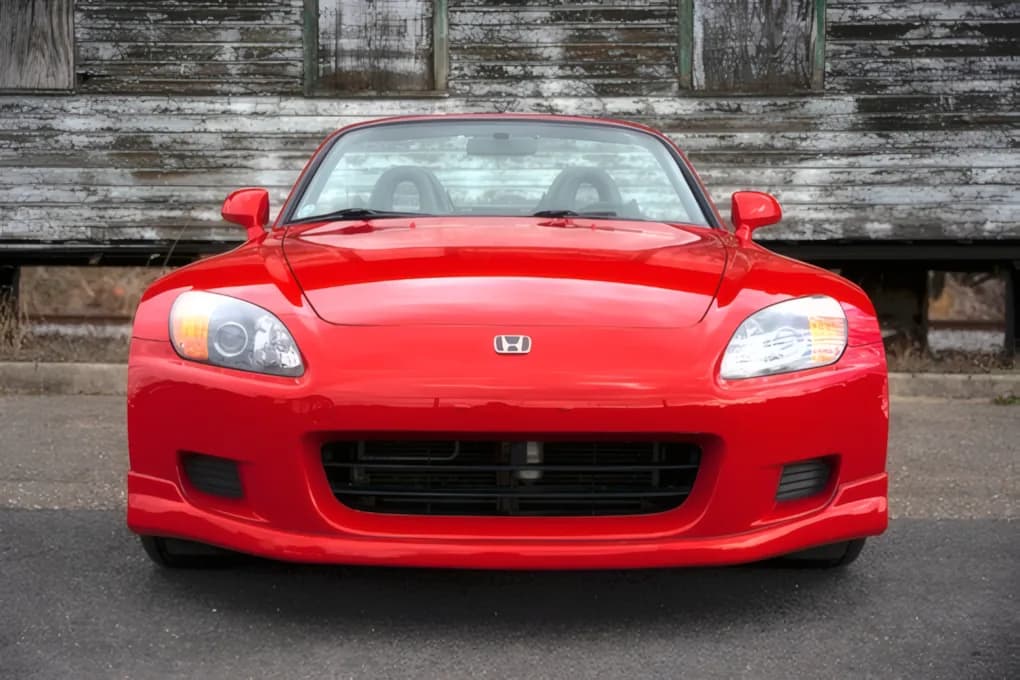
1. Front
Centre the car and keep both outer edges visible.
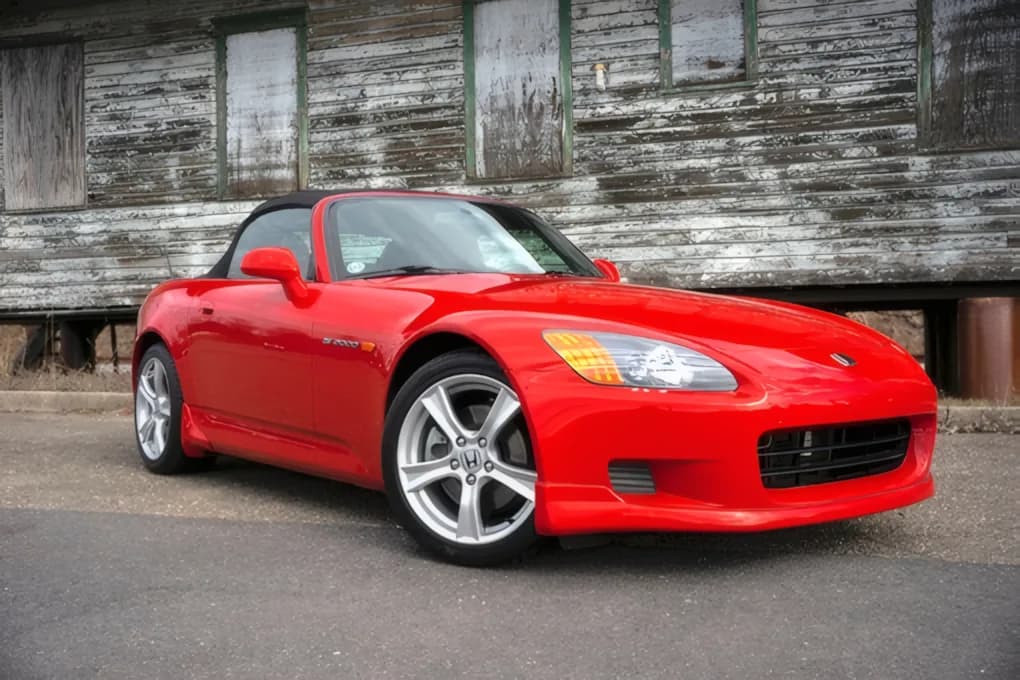
2. Front three-quarter
Show the front and one complete side without standing too close.
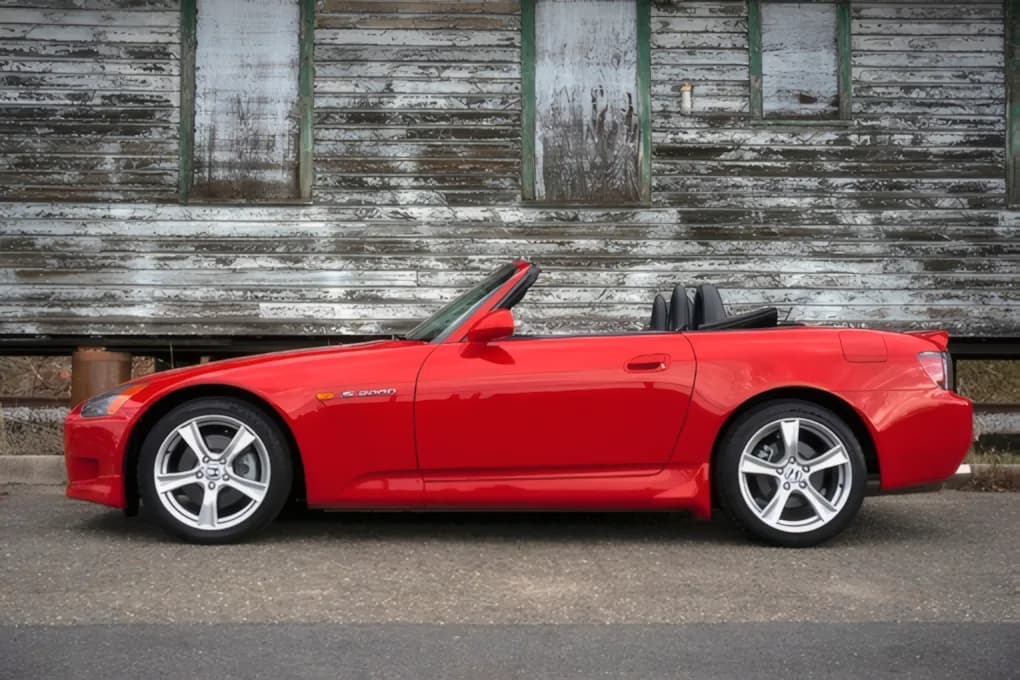
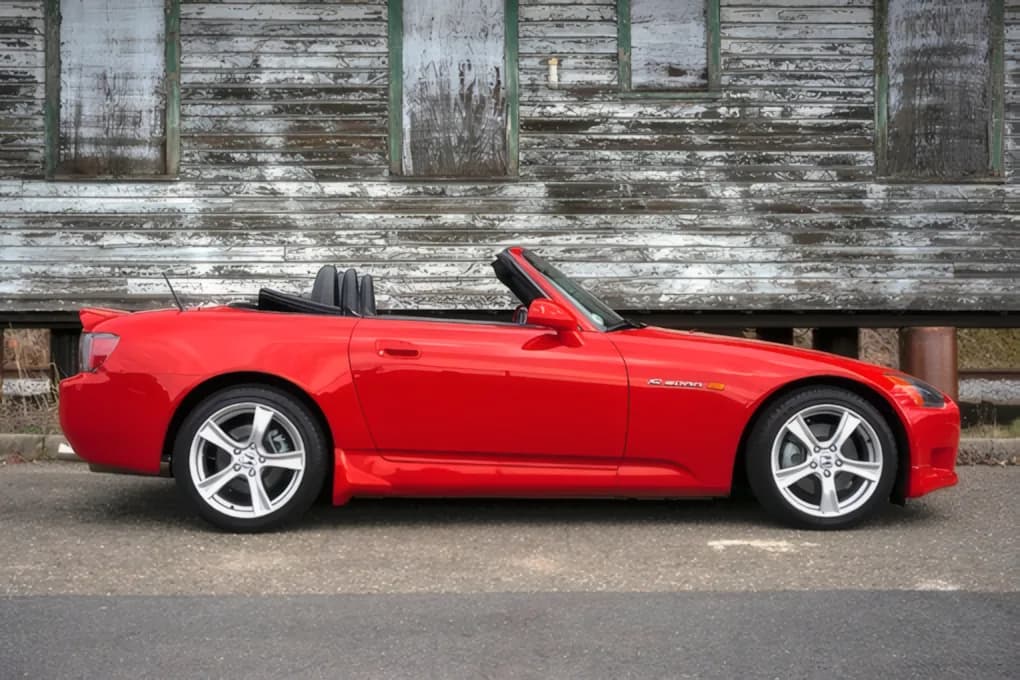
3. Side profile
Keep the entire car parallel to the image and both wheels visible.
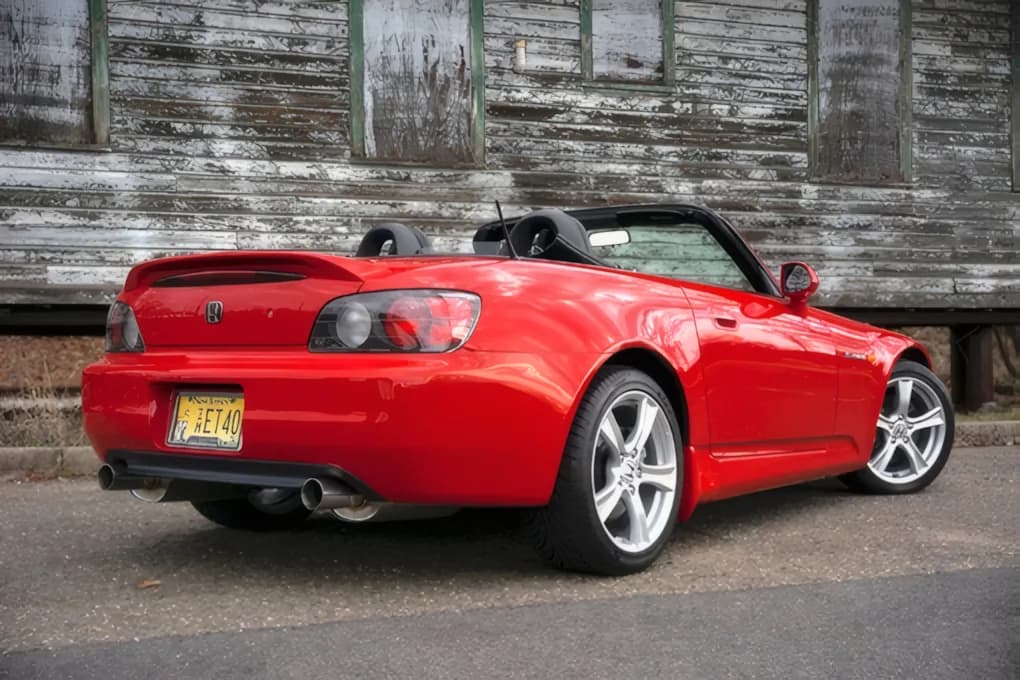
4. Rear three-quarter
Show the rear and side with the same height and distance.
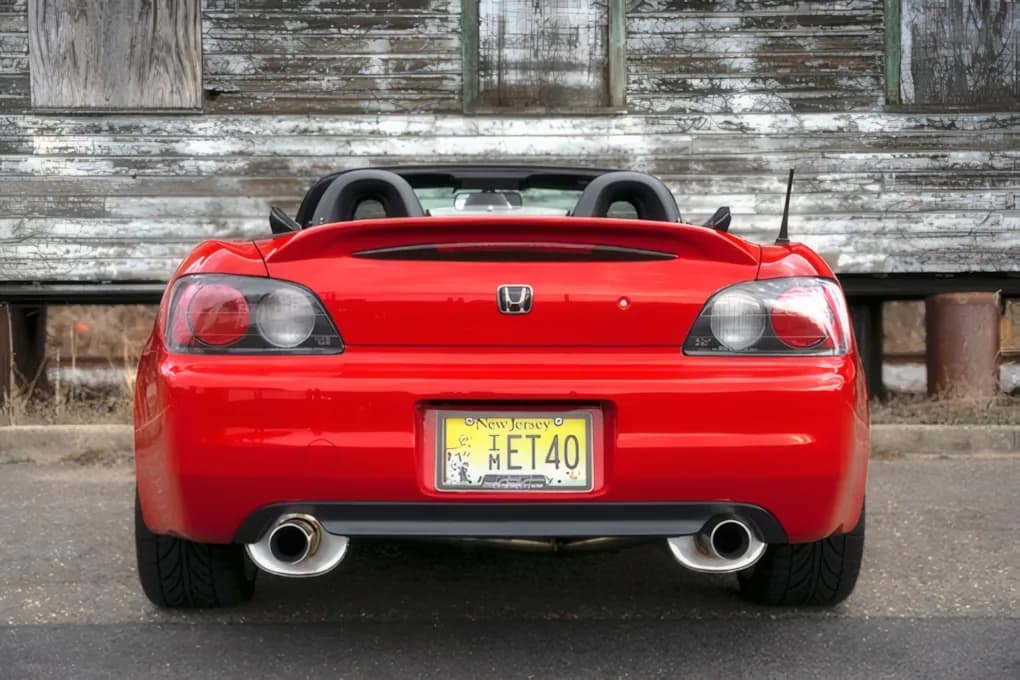
5. Rear
Centre the car and include the full bumper, lamps and roofline.
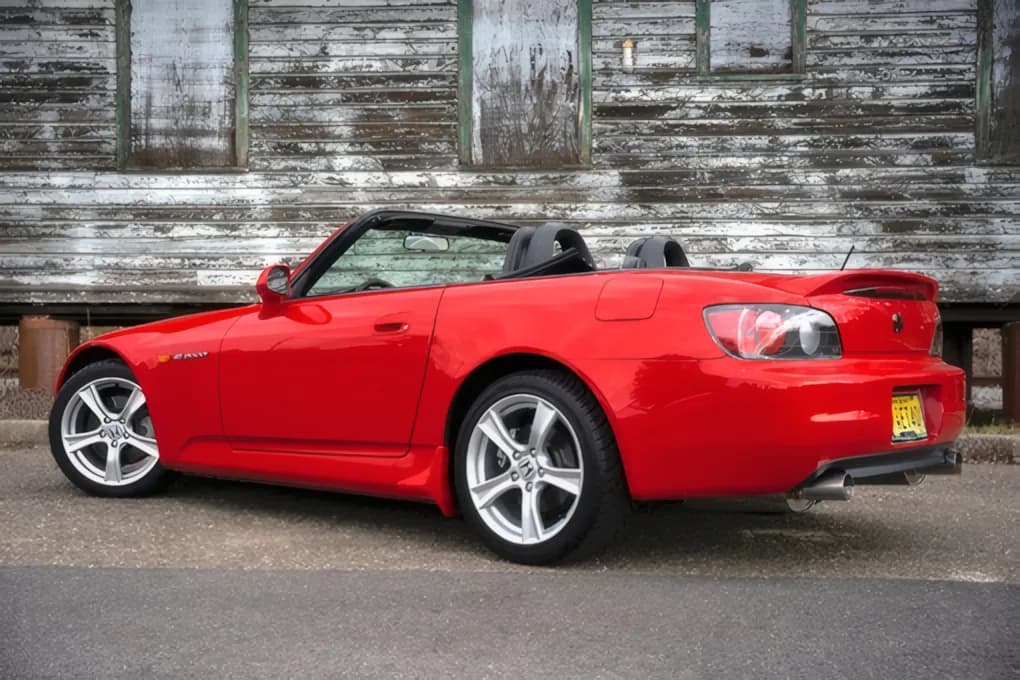
6. Opposite rear three-quarter
Repeat the angle on the other side.
7. Opposite side profile
Show the complete second side.
8. Opposite front three-quarter
Finish with the matching front angle.
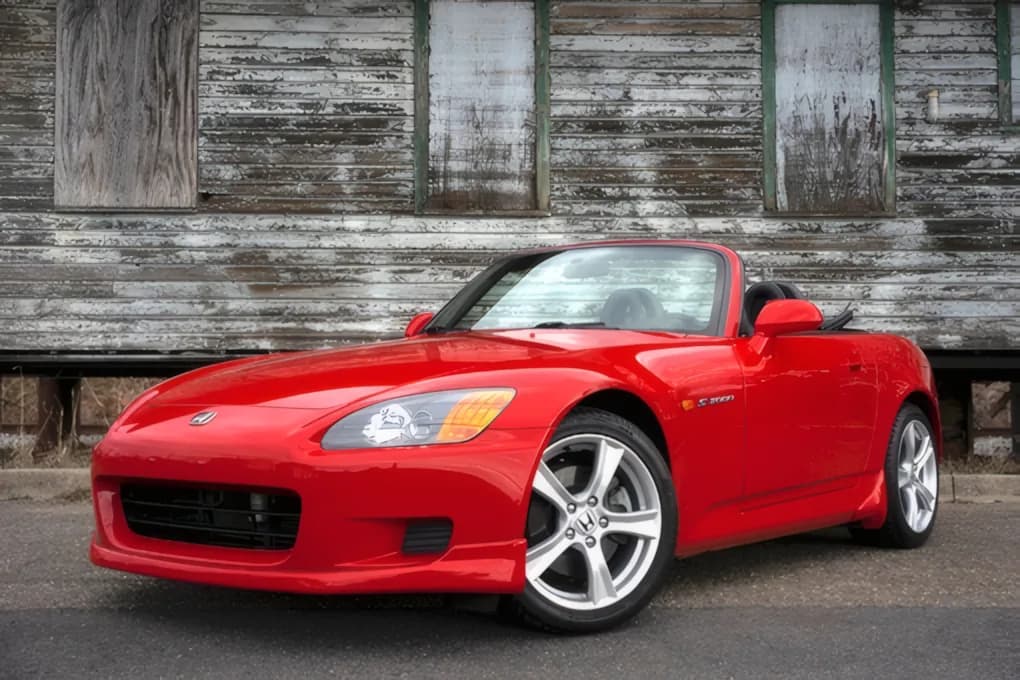
5 · Exterior details
Add close-ups of useful exterior details—not just damage.
Once the eight overview views are complete, photograph the features a buyer may want to inspect more closely. Keep enough surrounding bodywork in the frame to identify the location, focus on one subject at a time and avoid repeating the same angle without adding information.
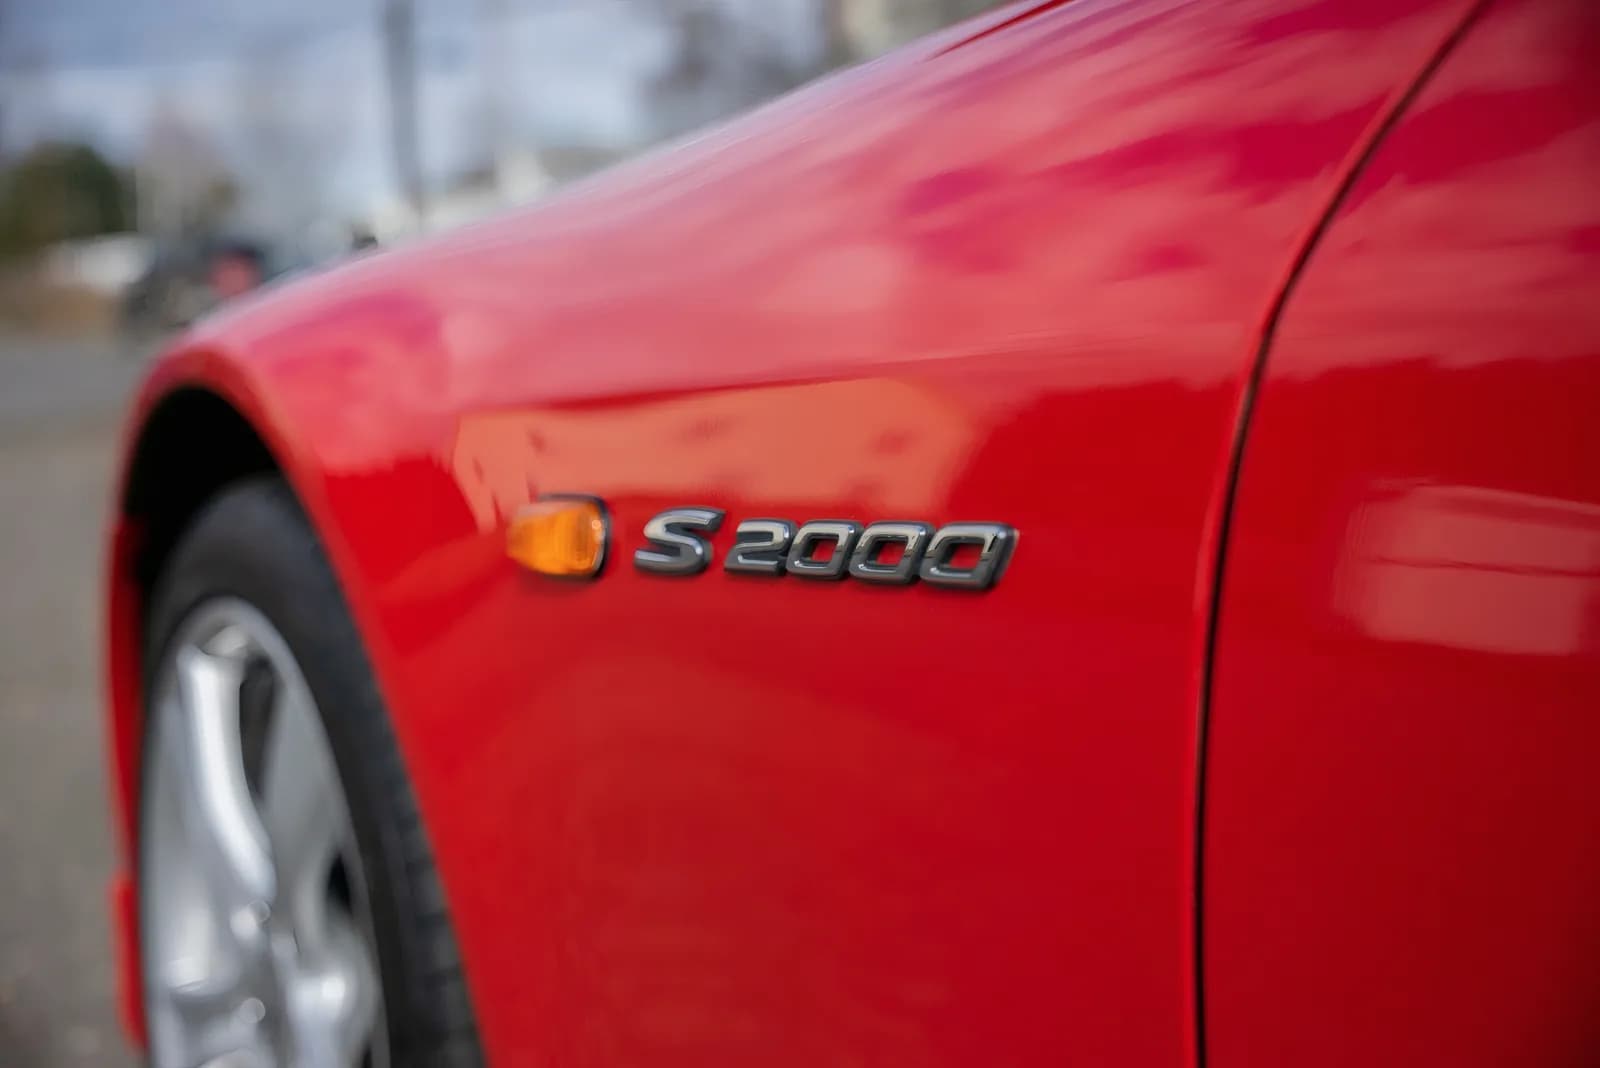
Model and trim details
Show useful badges, trim or factory identifiers together with the surrounding panel.
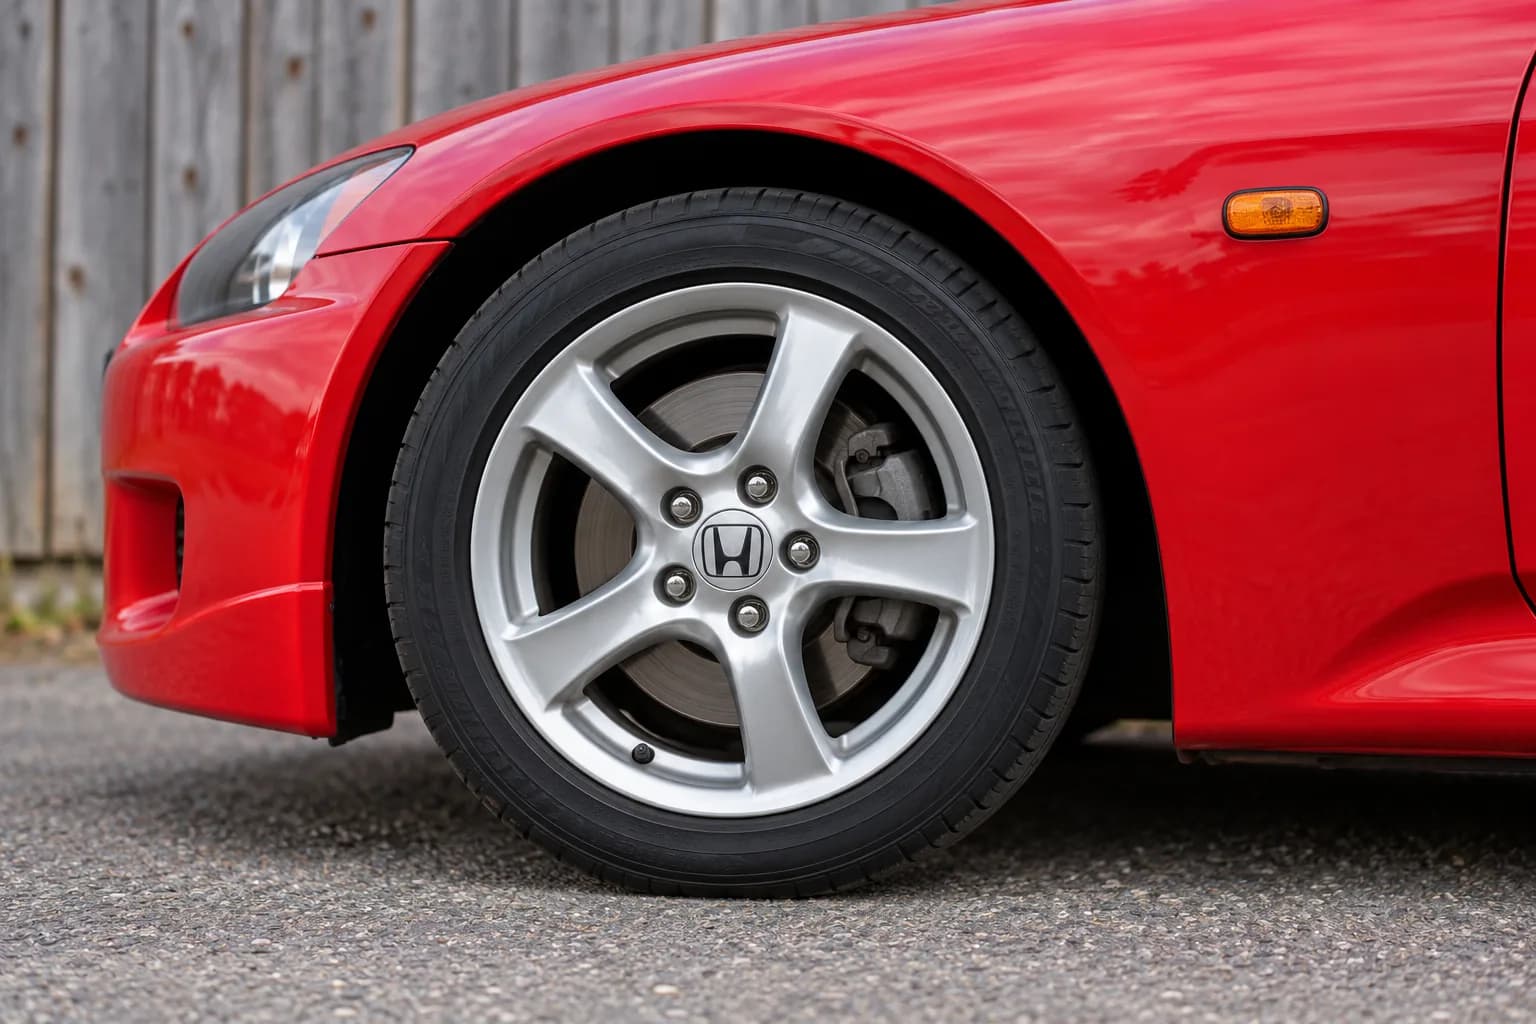
Wheel, tire and brake
Include the full rim, tire sidewall and visible brake area in one sharp frame.
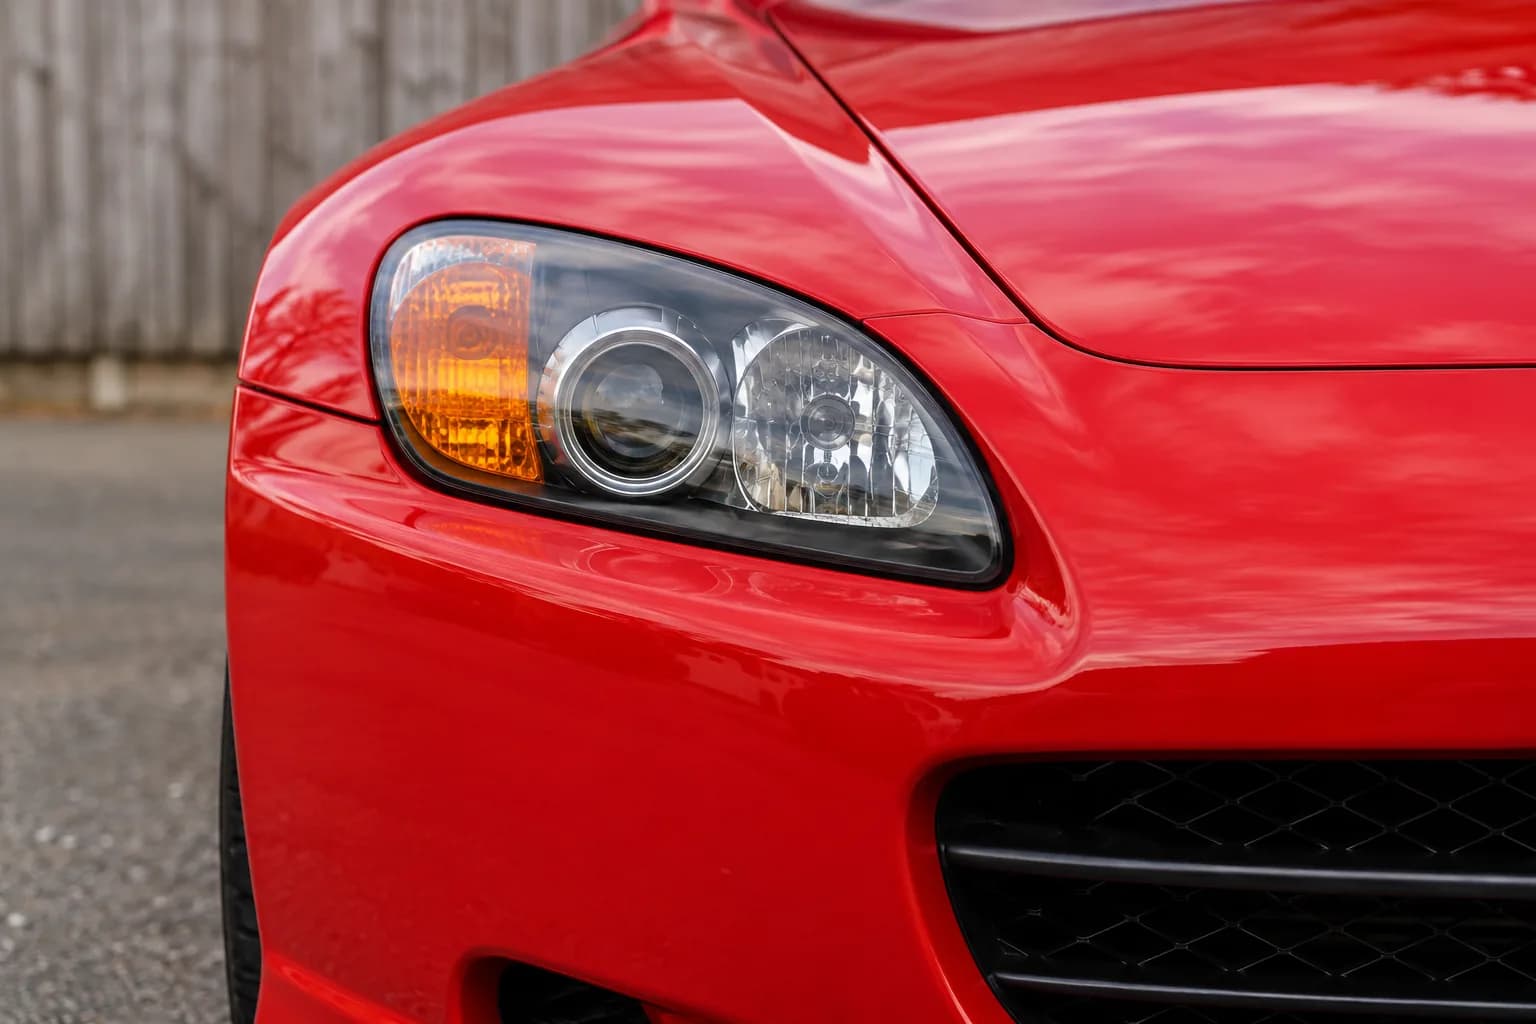
Front light and bumper
Photograph the complete lamp, its lens and the adjacent bumper and hood seams.
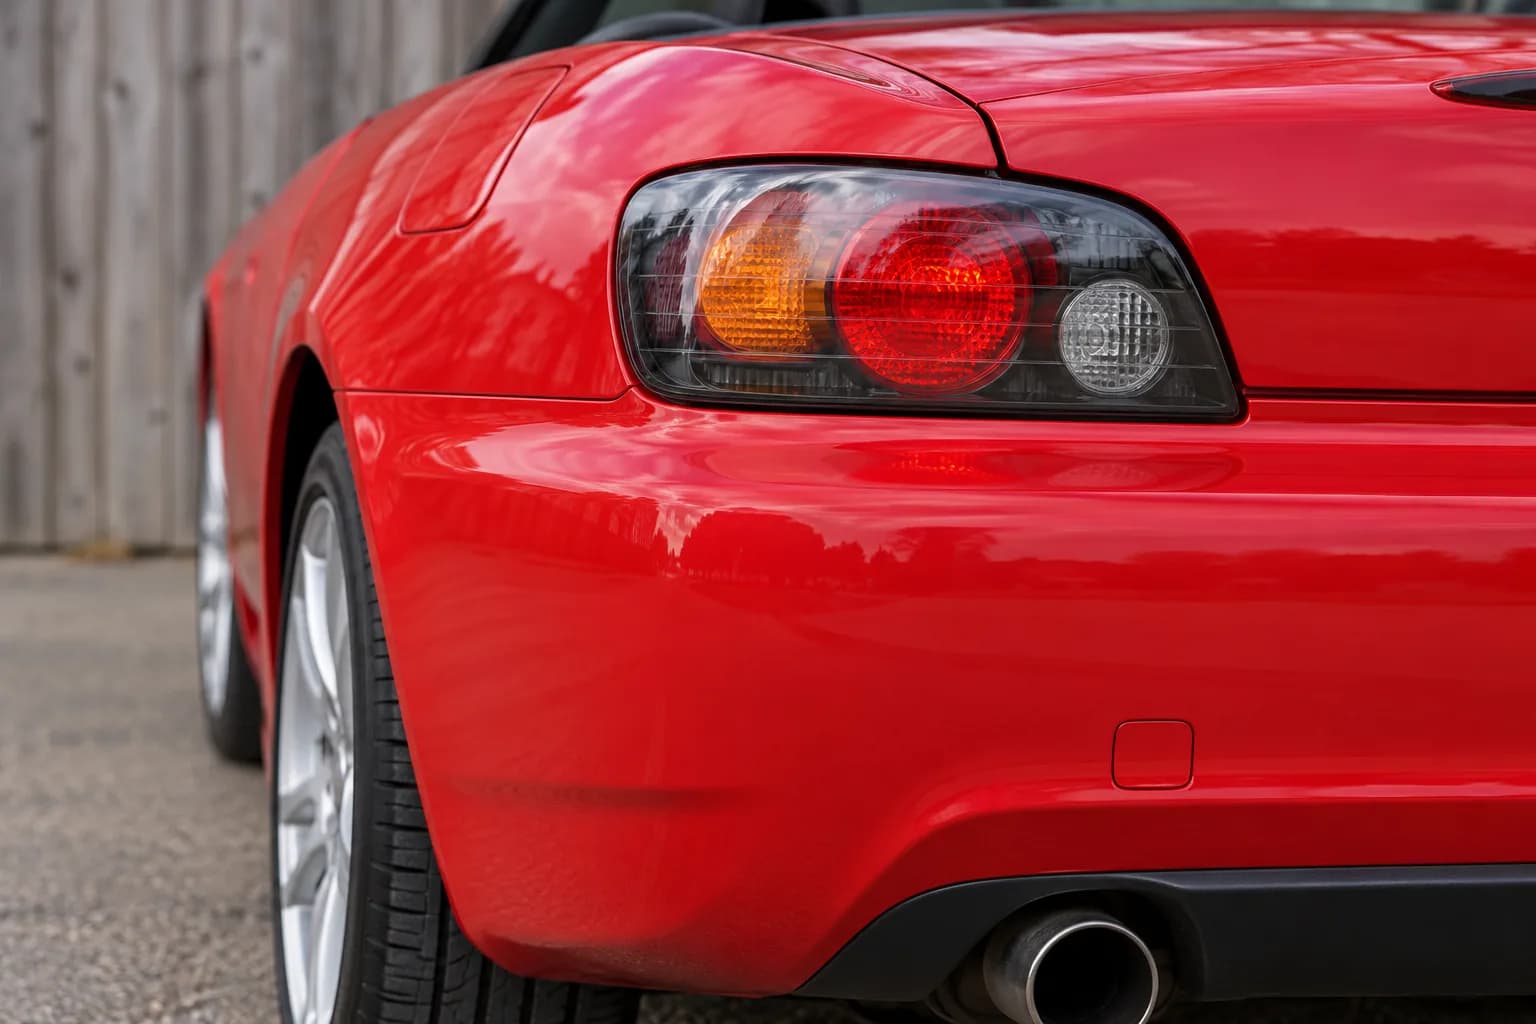
Rear light and bumper
Include the lamp, bumper corner, trunk seam and visible exhaust detail.
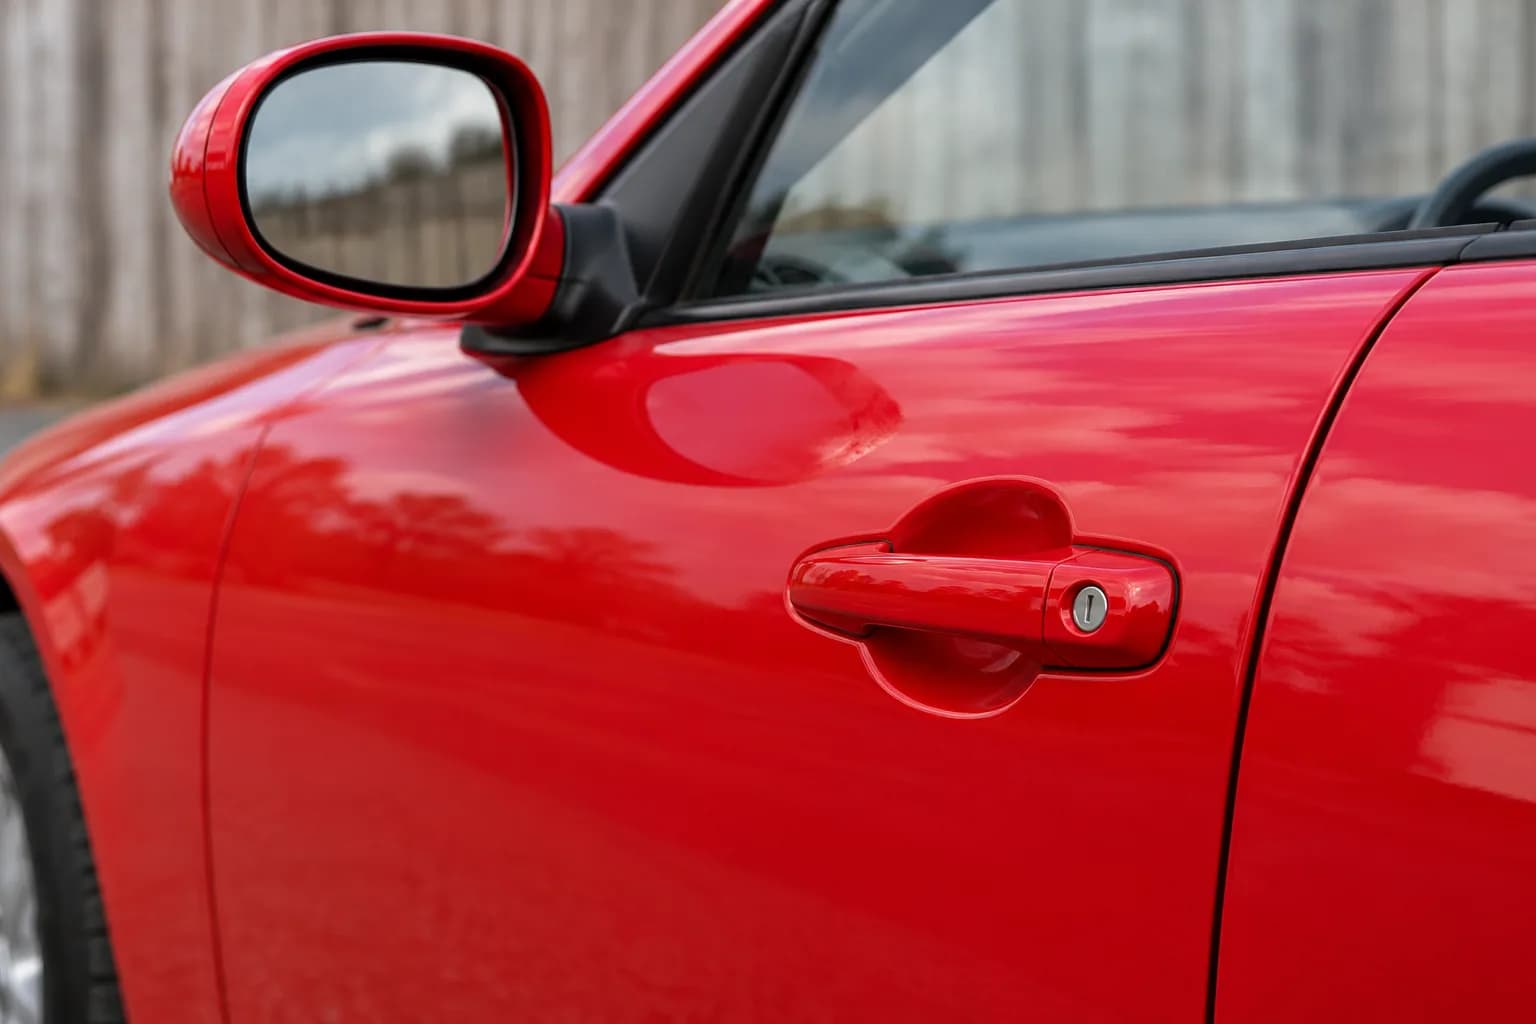
Handle, mirror and door fit
Use a close-up to show handles, mirrors, seals and panel alignment clearly.
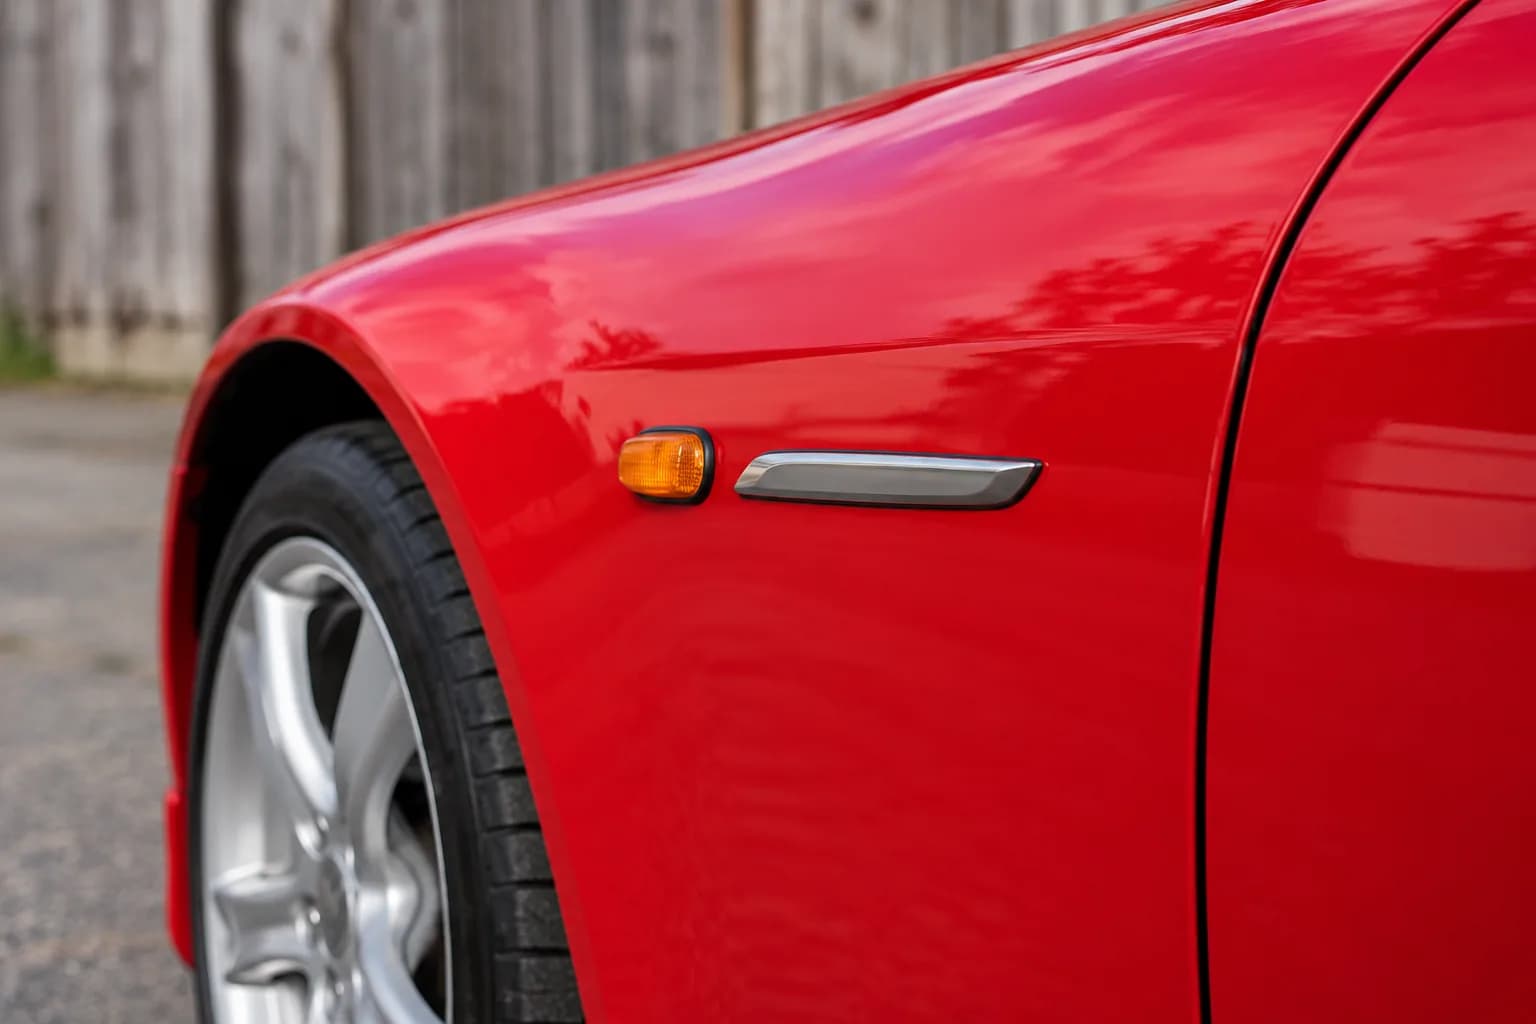
Fender equipment
Record side markers, vents, trim pieces or other notable exterior equipment.
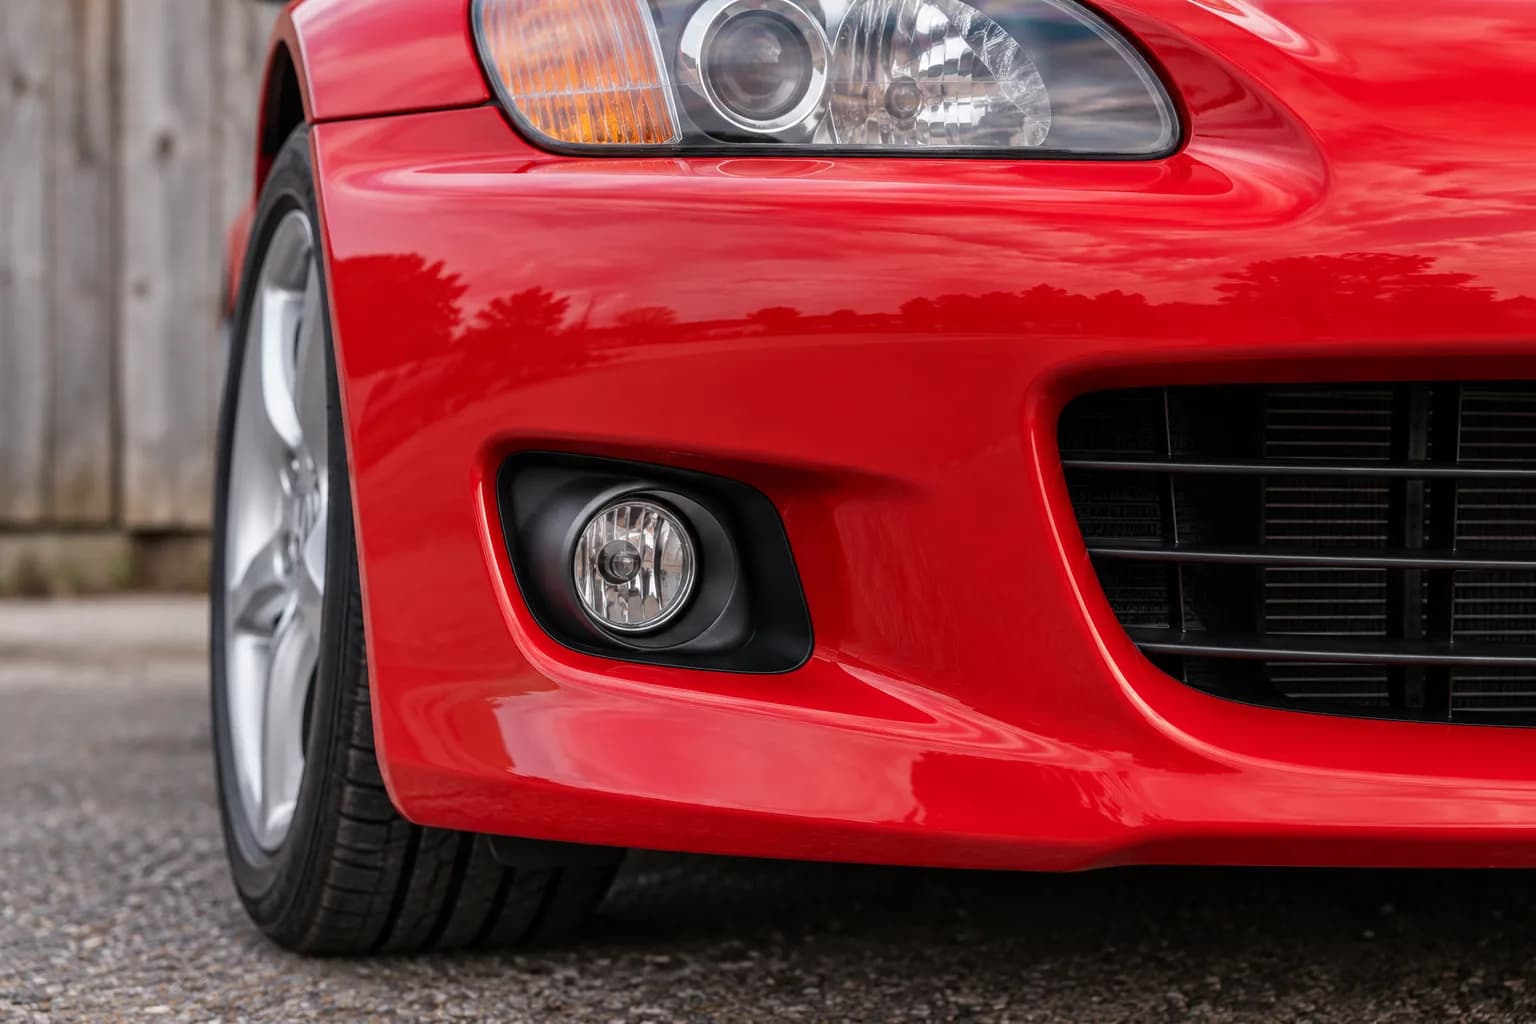
Lower bumper and air intake
Show grilles, lower lamps and openings without cutting off their surrounding edges.
6 · Condition and defects
Show every visible defect in context, then close up.
For a scratch, chip, dent or wheel mark, take an area view that locates the defect and a sharp close-up. Add a wider context view when its position is not obvious, and use a scale only when it does not hide the damage.
Scratches and chips are usually easiest to document nearly straight on, around 90°. Shallow dents become clearer from an oblique angle around 30°, where reflection lines reveal the deformation.
1. Context
Show where the affected panel sits on the vehicle.
2. Affected area
Photograph the full panel from roughly one metre away.
3. Close-up
Make the mark sharp and readable without losing orientation.
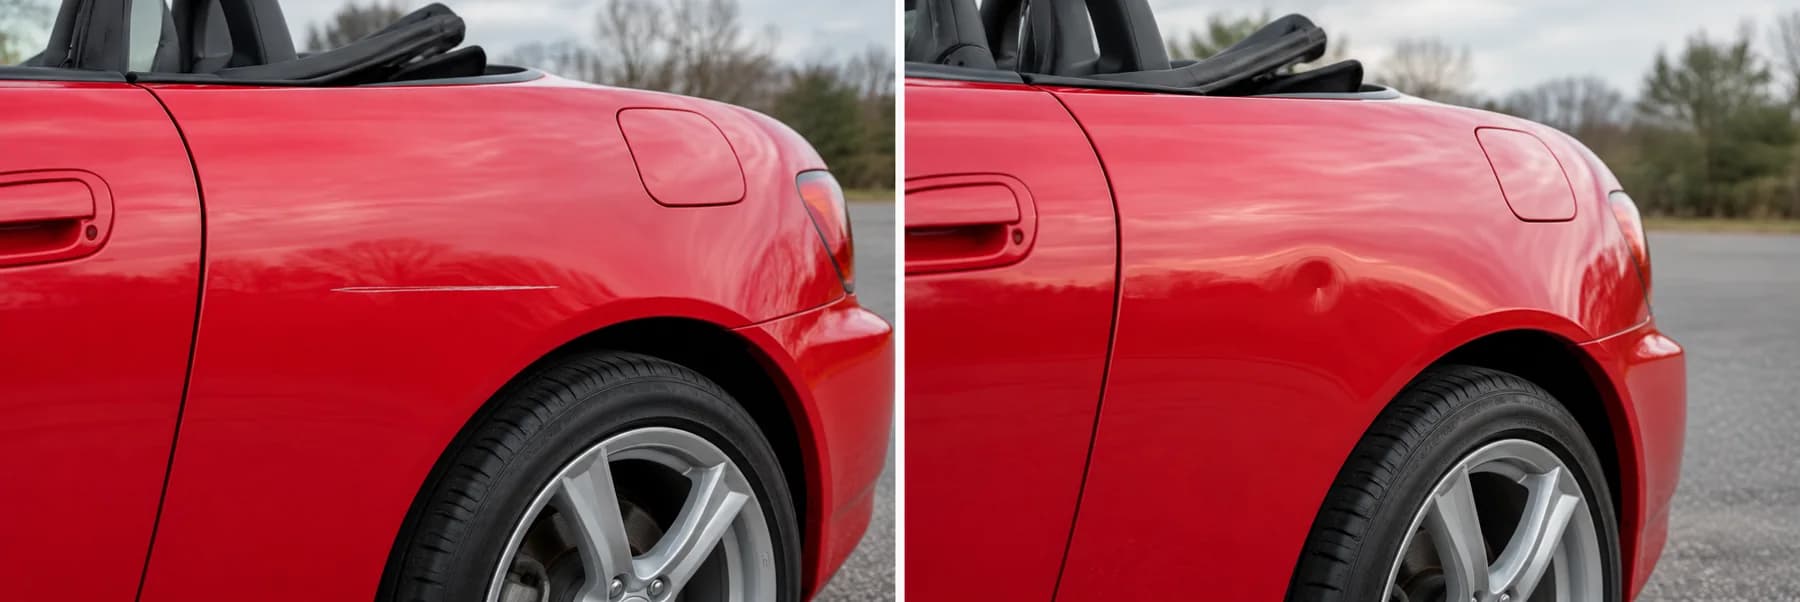
Educational illustration generated for TrakarIA; the labels and advice remain part of this article.
7 · Interior
Photograph the cabin from wide context to every useful detail.
Open the doors and work from general views to close-ups. Photograph screens without glare, keep controls sharp and include every seating or storage area that exists on the vehicle. Rear seats apply only when fitted.
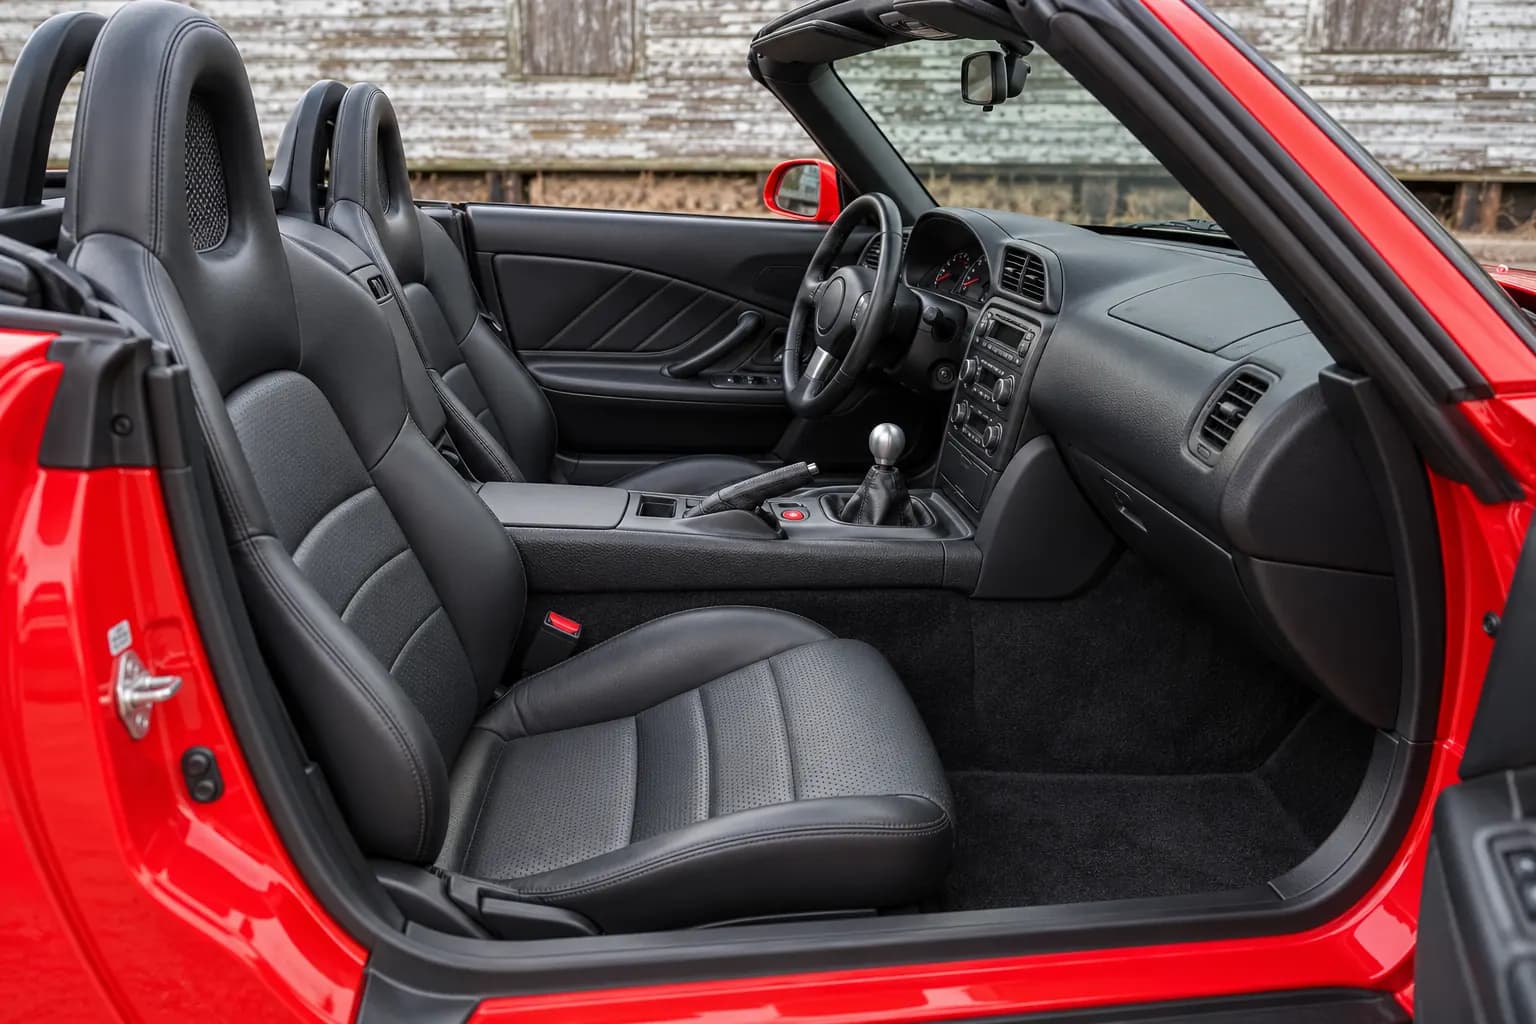
Interior overview
Show the dashboard, steering wheel, center console and seats in one readable frame.
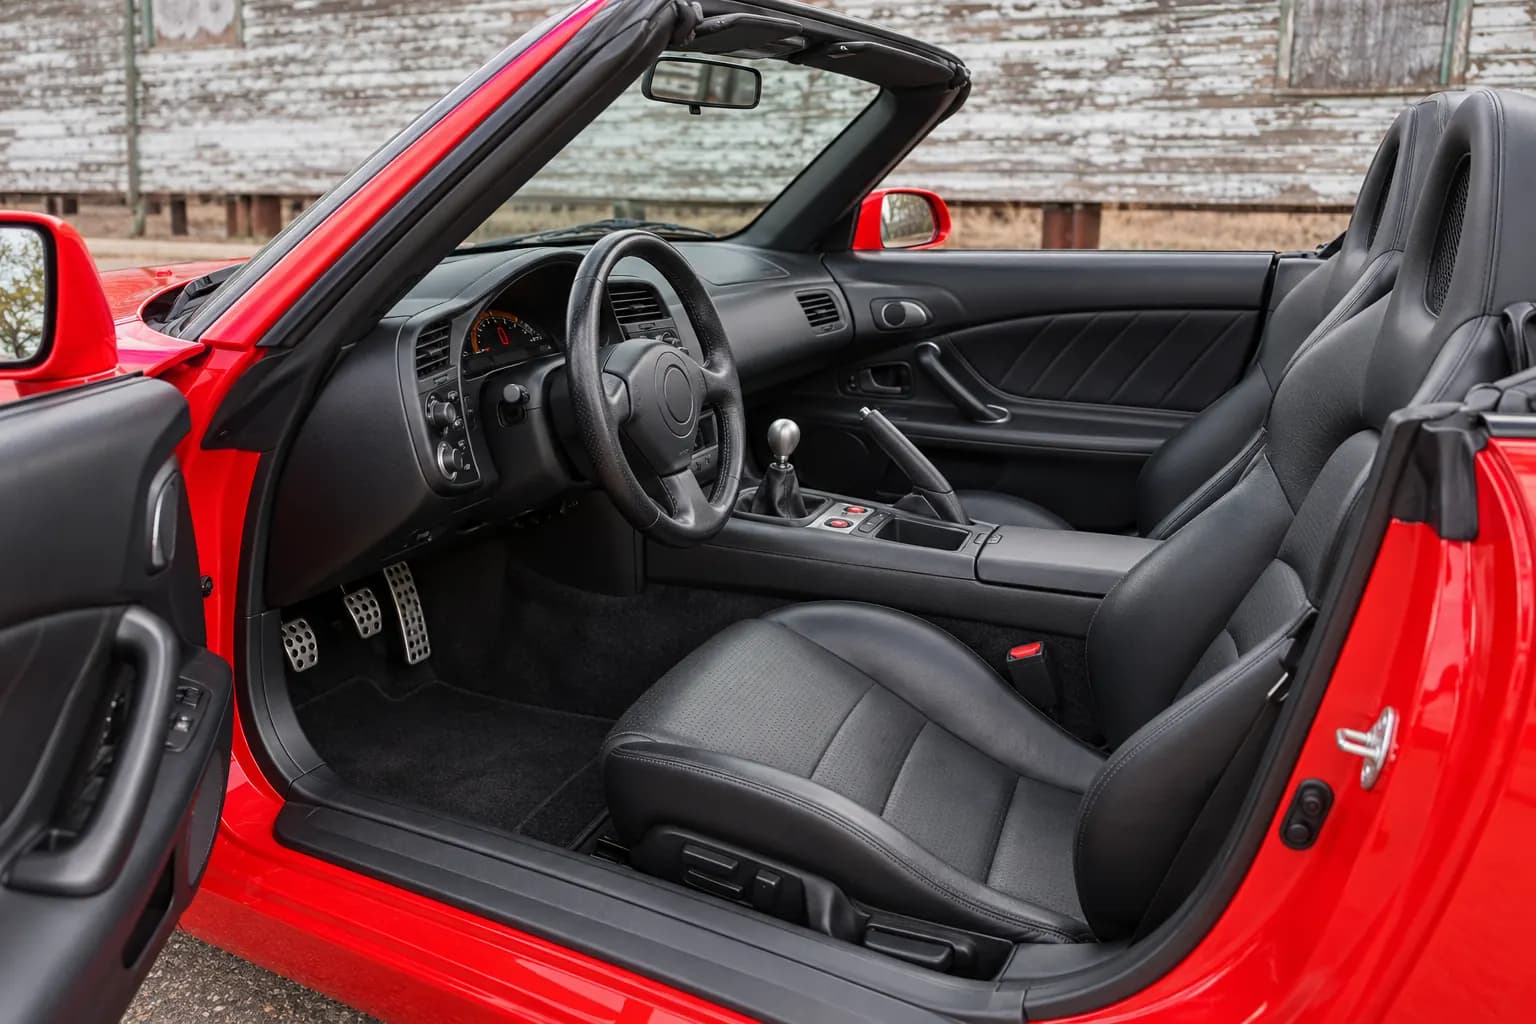
Driver seat and steering wheel
Photograph the complete seat, wheel, pedals area and nearby console.
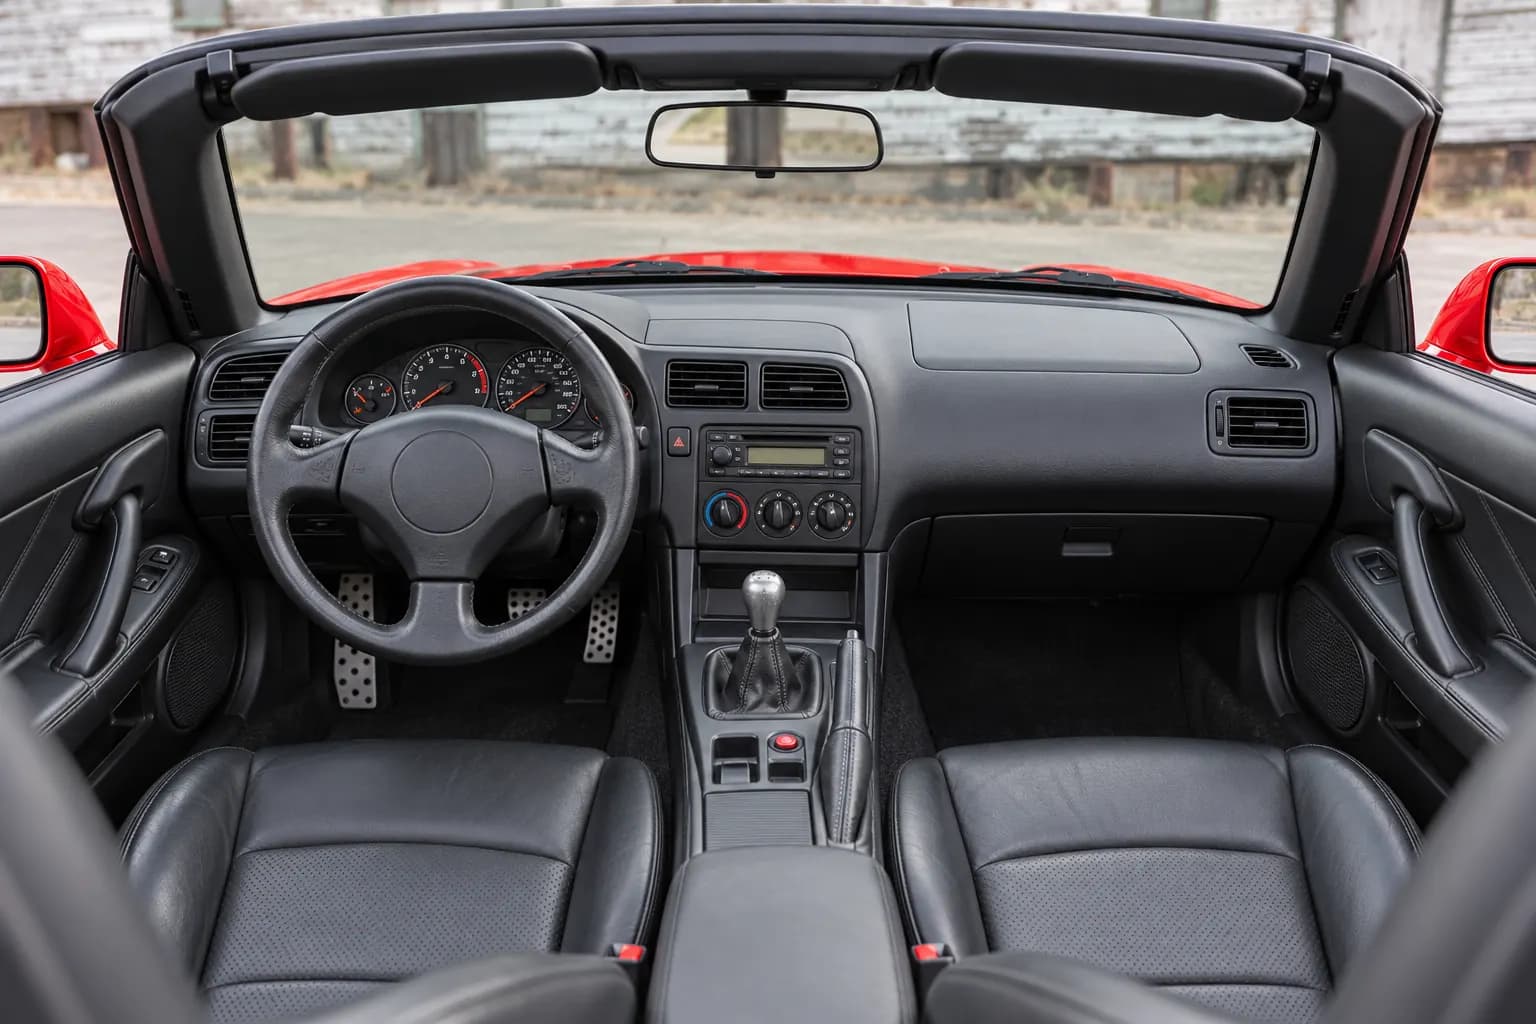
Dashboard
Use a straight, level view that shows the entire dashboard layout.
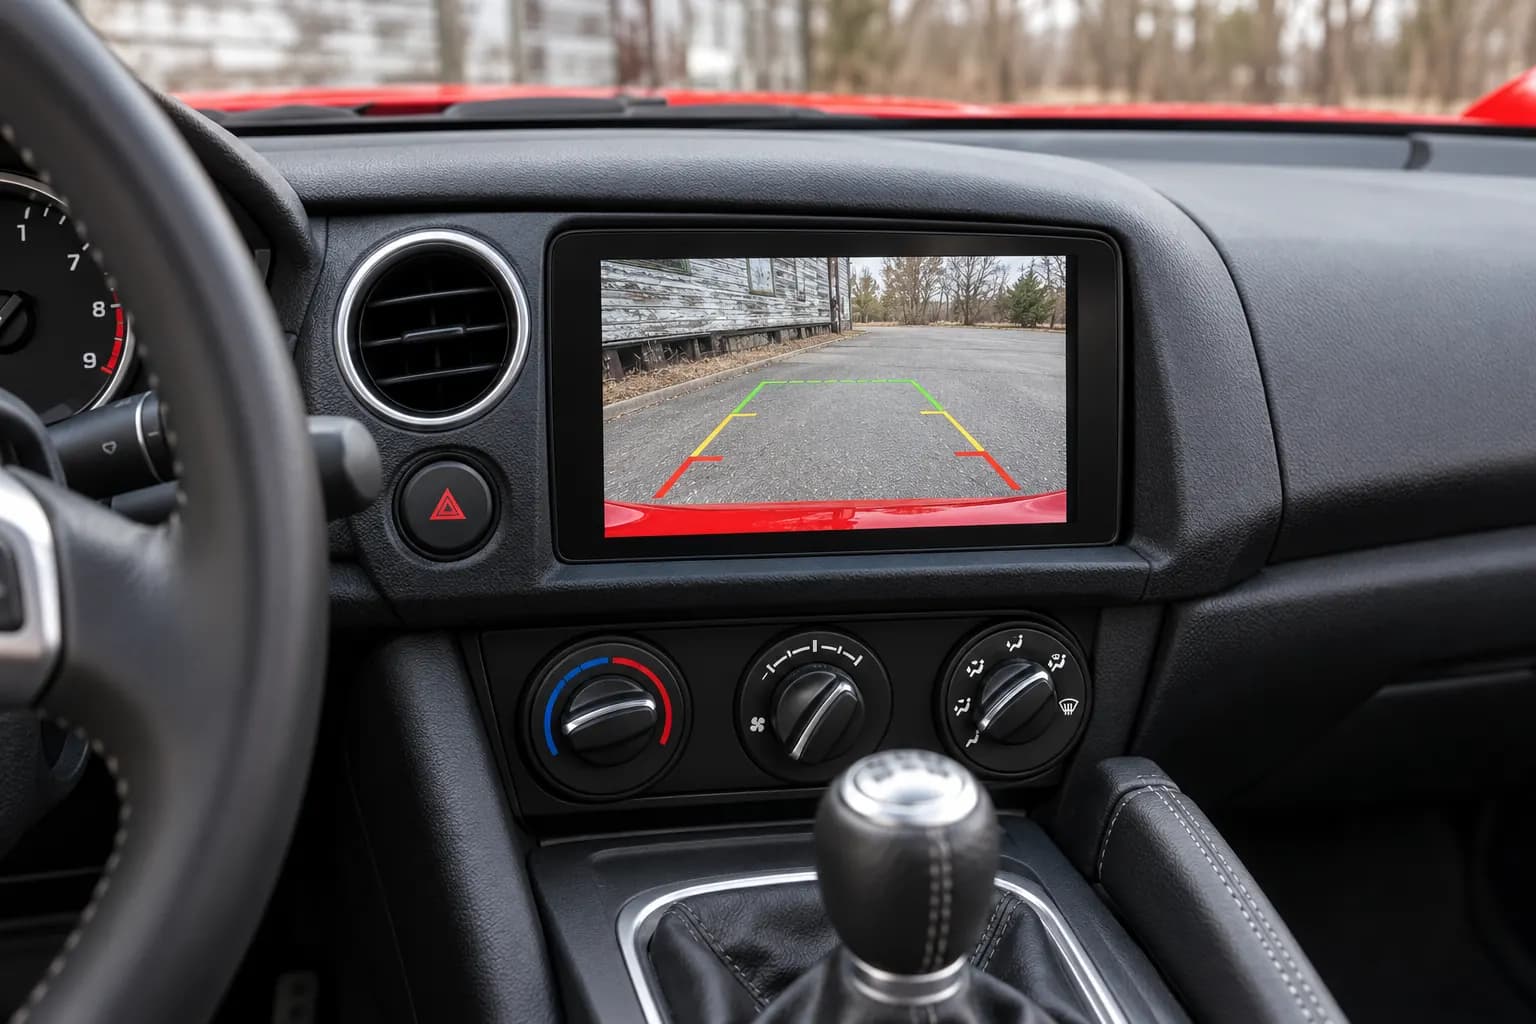
Rear-view camera screen
Select reverse safely and photograph the active screen without glare or blur.
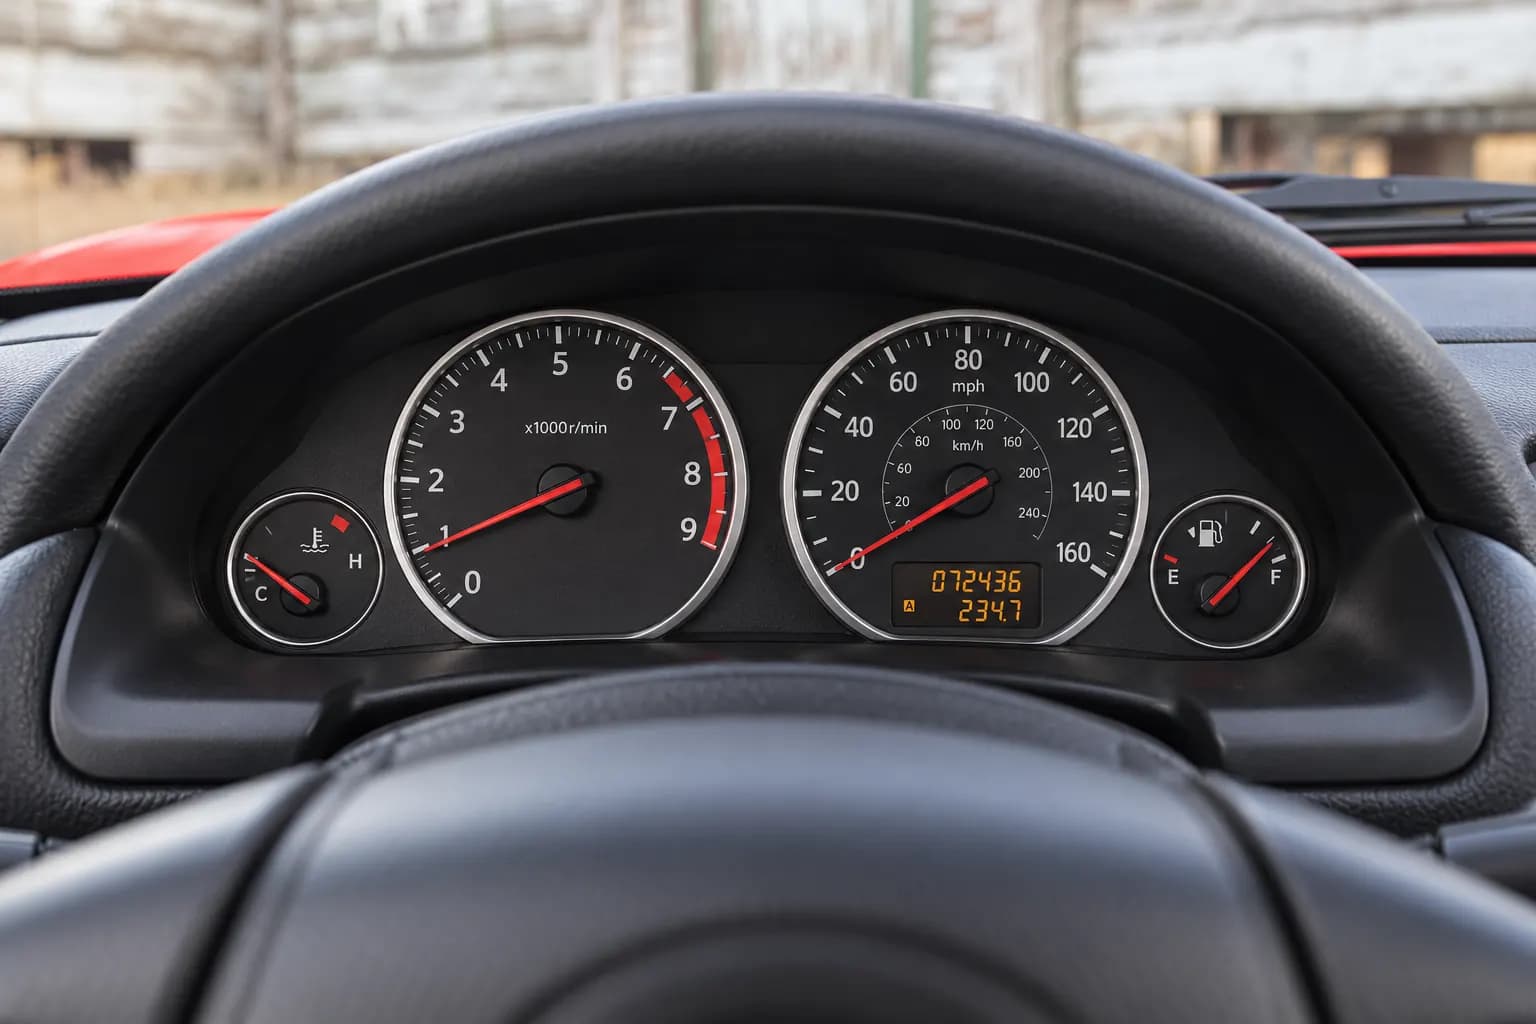
Instrument cluster and odometer
Make the gauges and mileage sharp, legible and free from reflections.
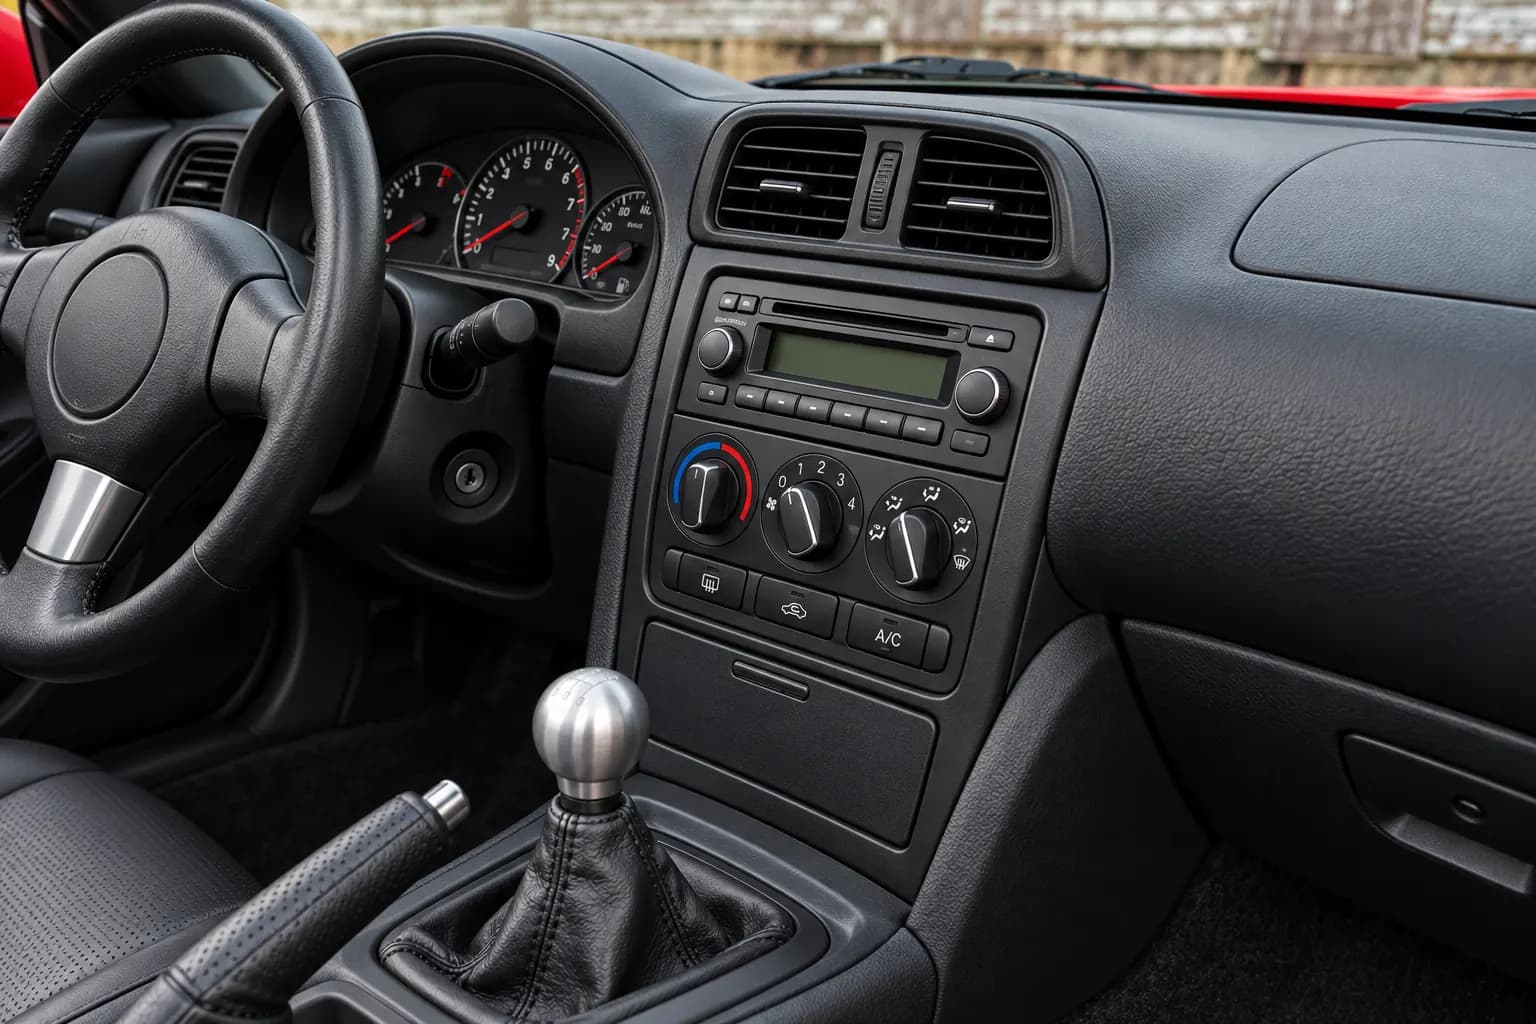
Climate controls
Show all temperature, fan and airflow controls in one focused image.
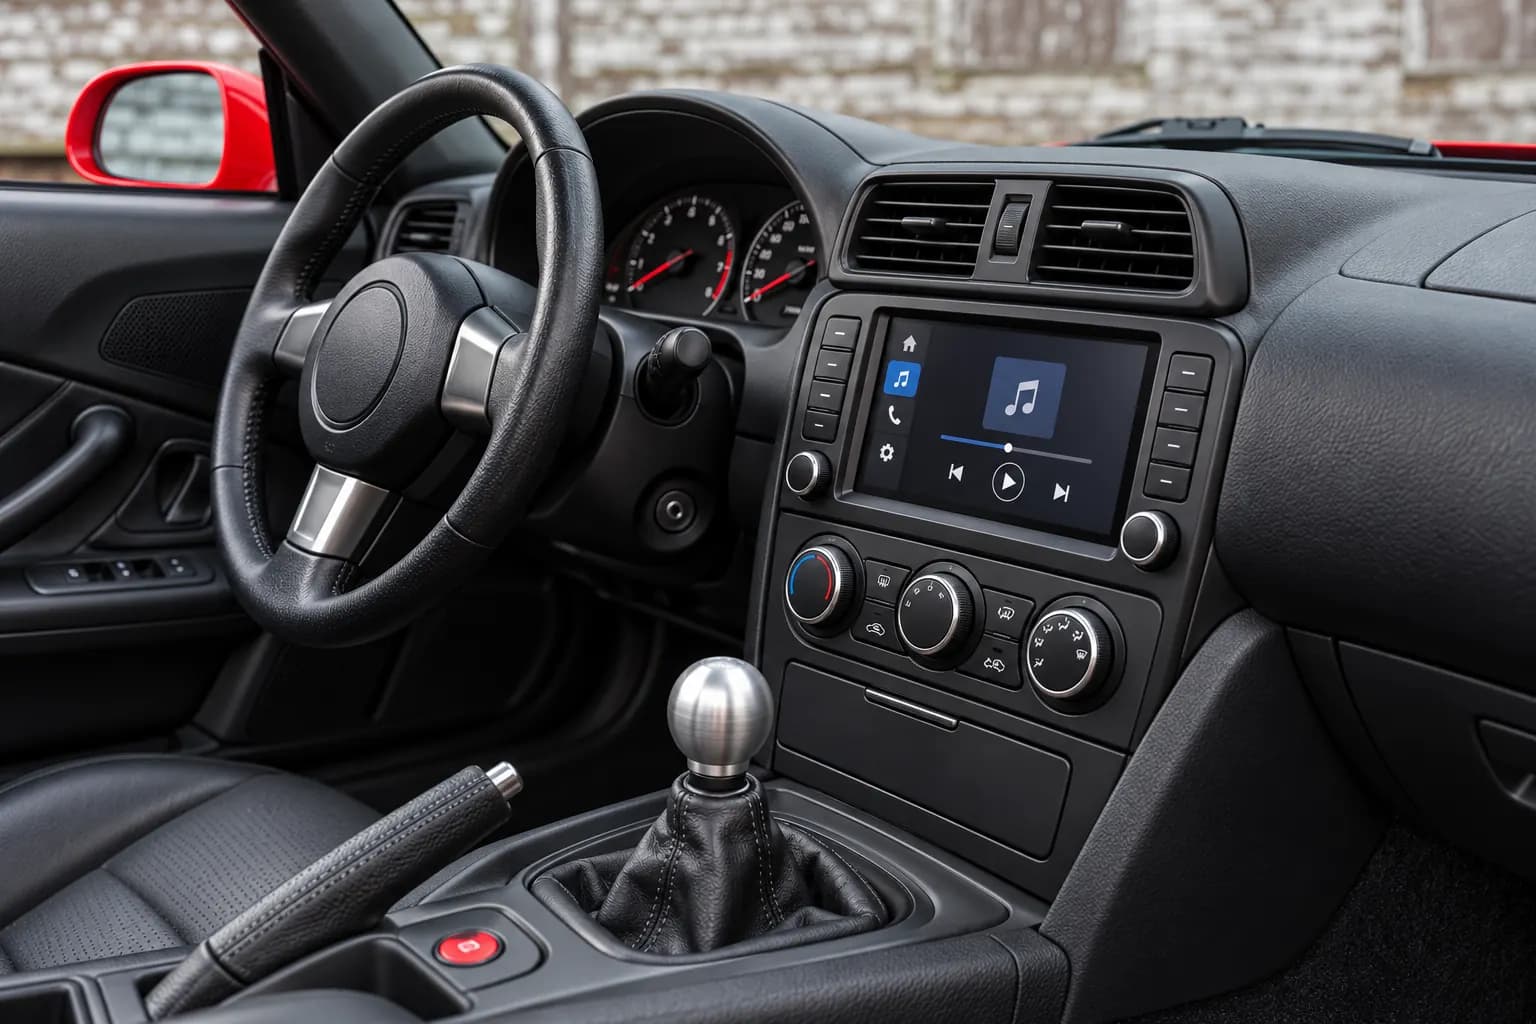
Infotainment display
Photograph the active screen and the controls around it without reflections.
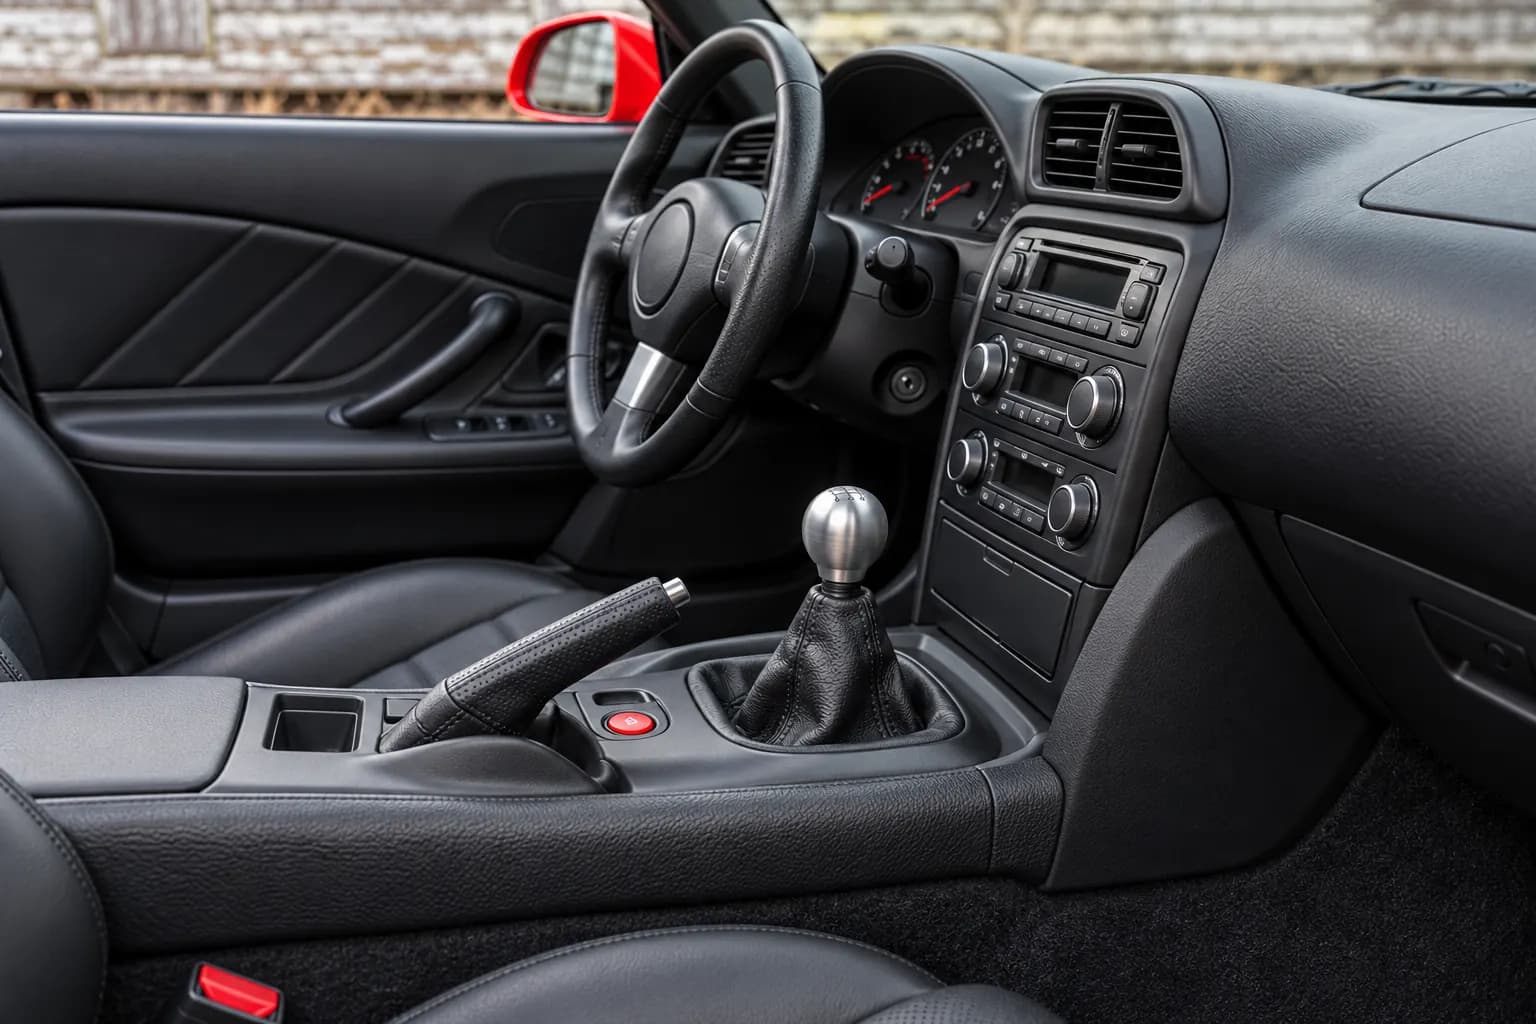
Gear lever
Include the selector, shift pattern, gaiter and surrounding center console.
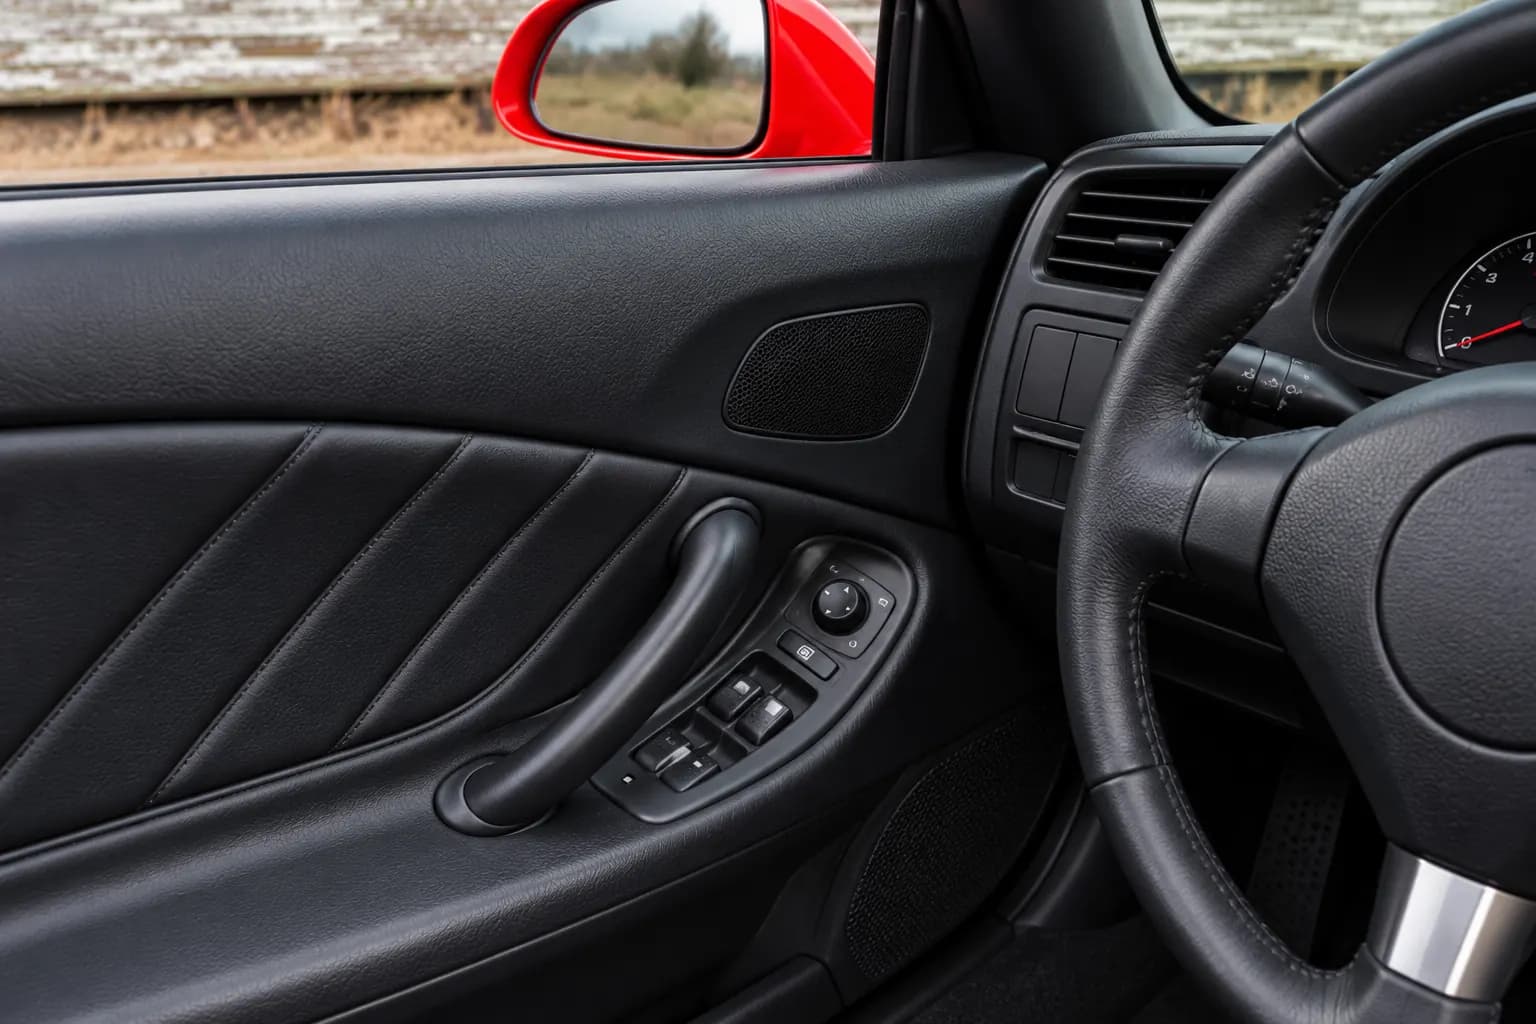
Window and mirror controls
Show every switch clearly and keep enough door trim for context.
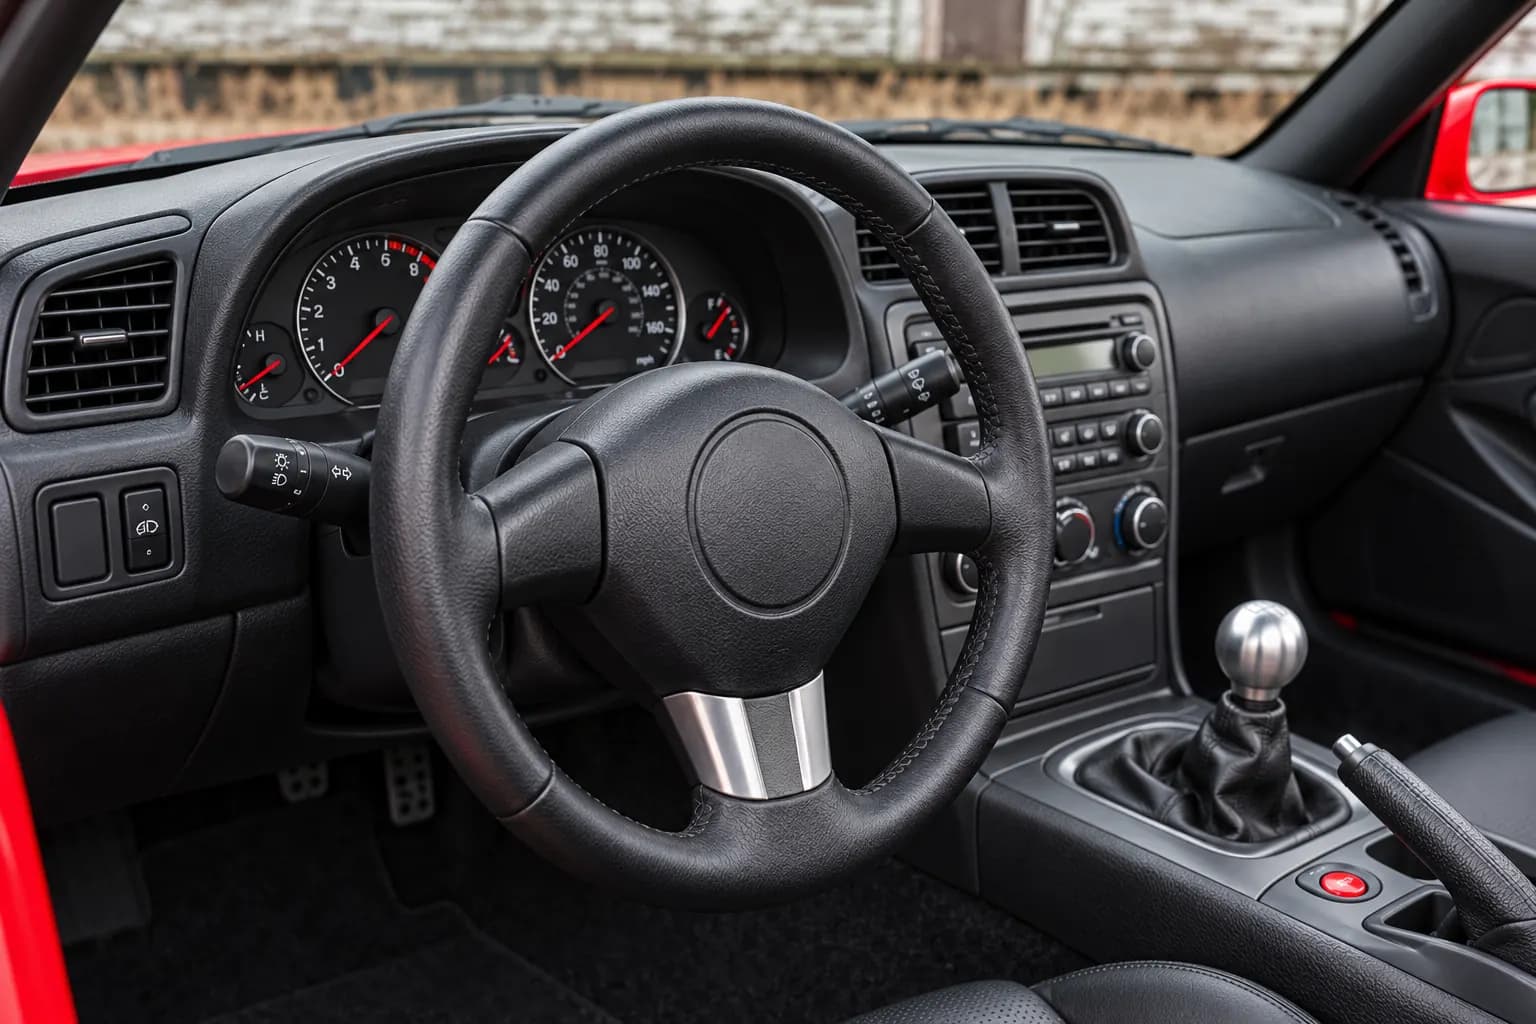
Driver controls
Cover steering-wheel buttons, column stalks and other driver-facing controls.
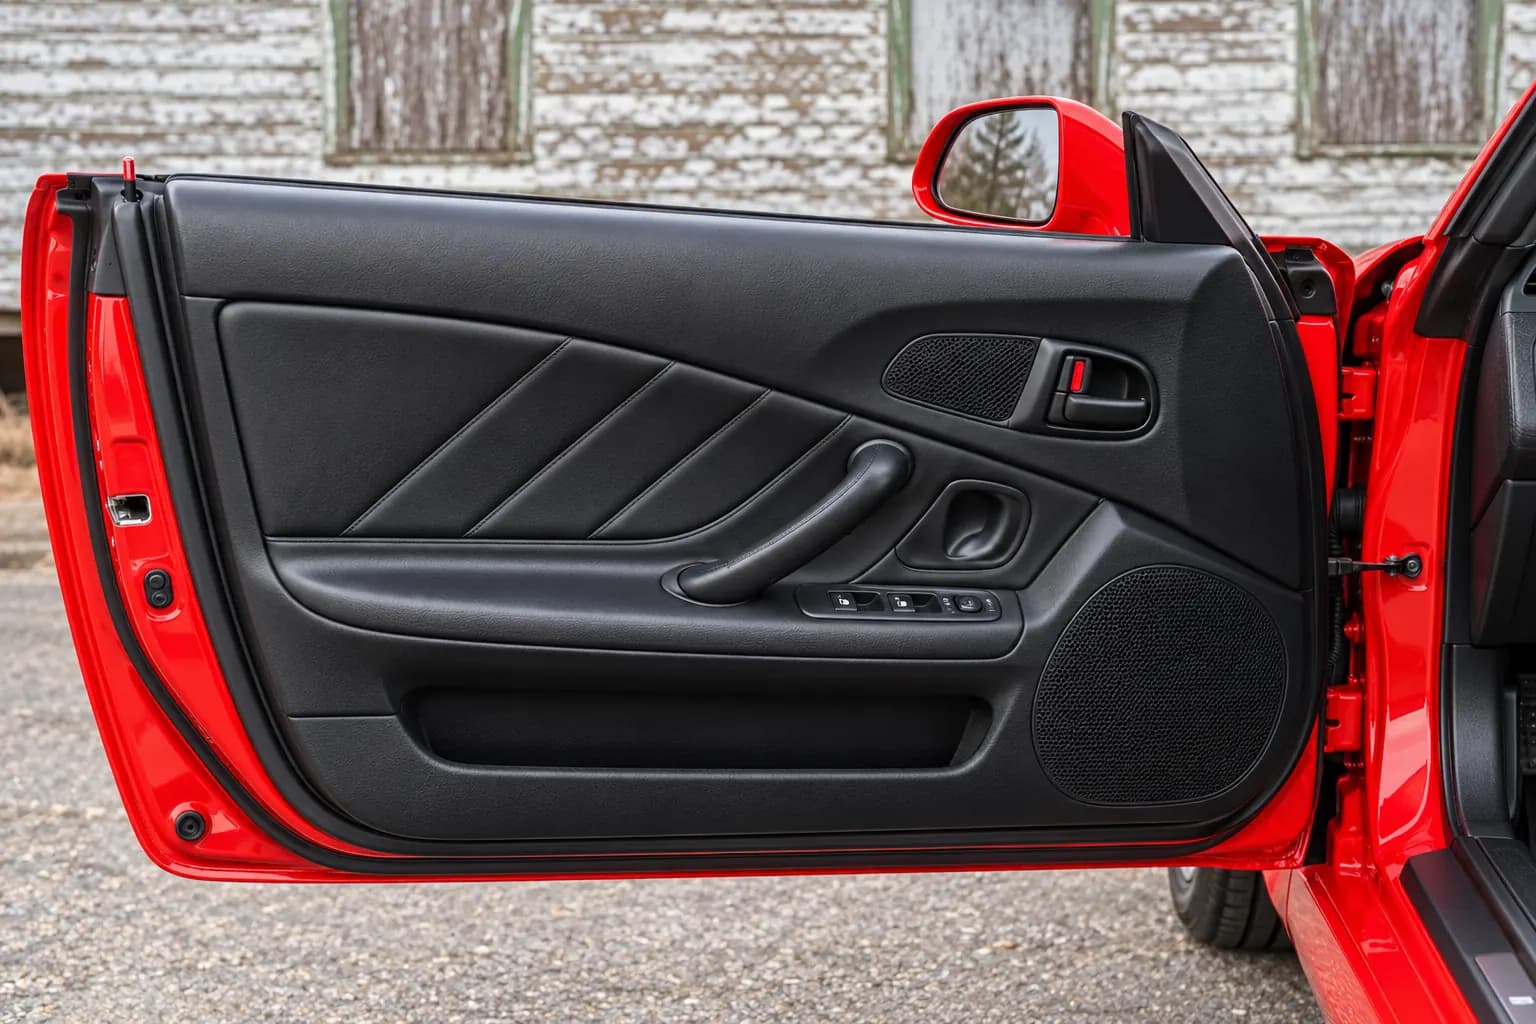
Door panel
Photograph the whole panel, including handle, armrest, speaker, pocket and seals.
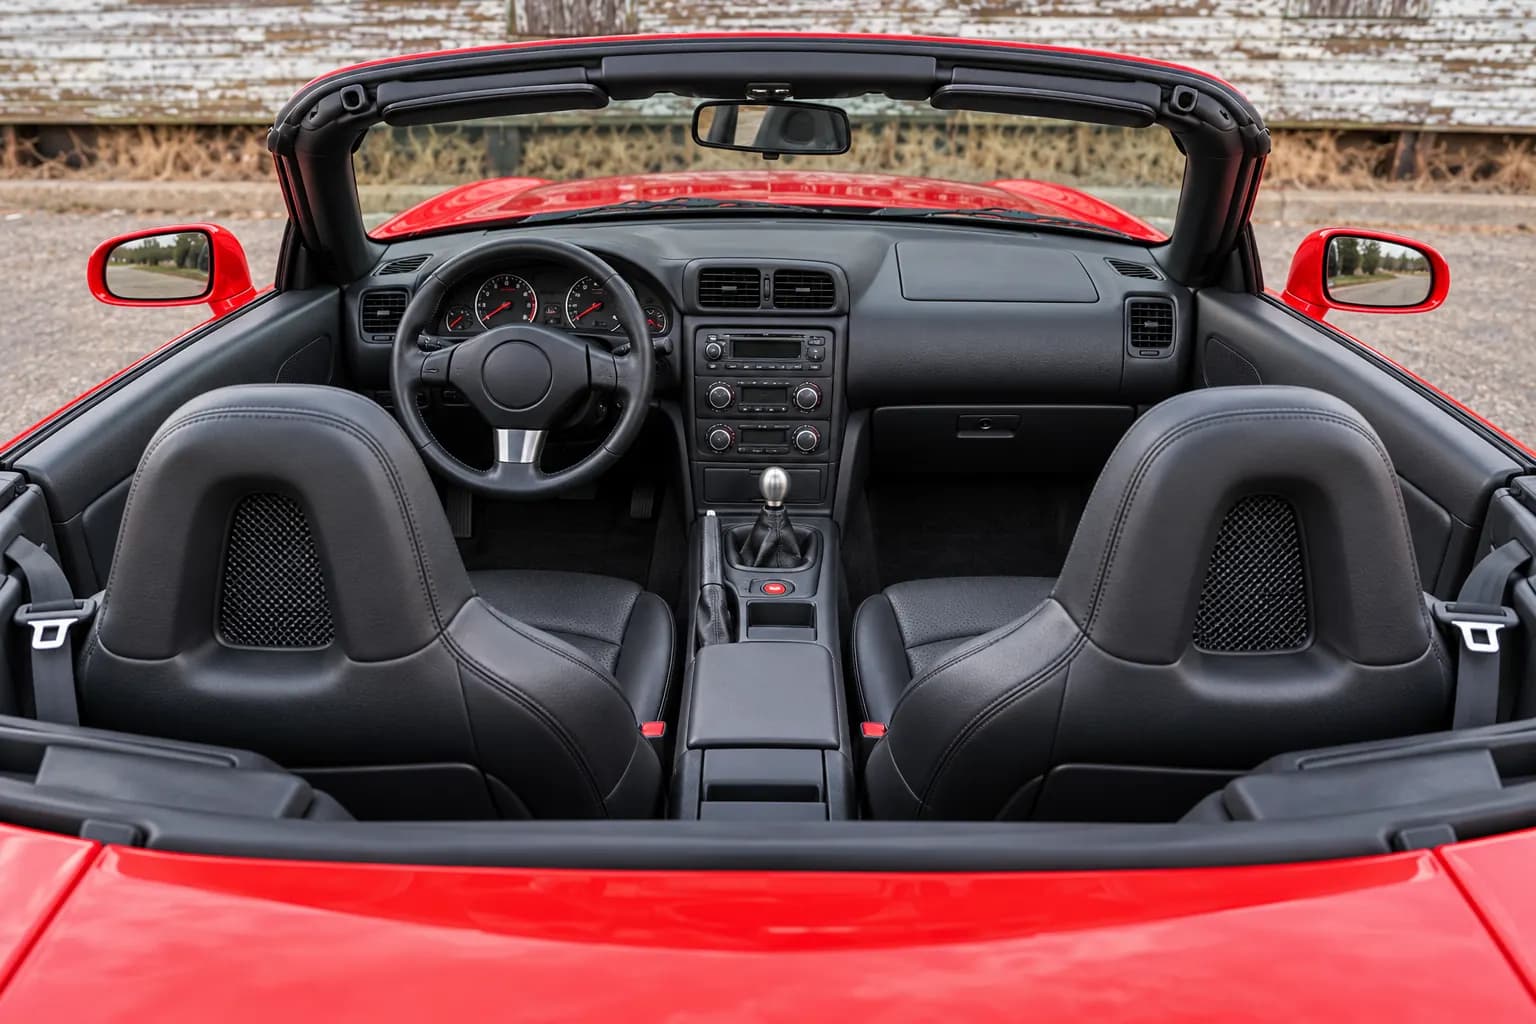
Front seats
Show both seats, headrests, bolsters, belts and visible upholstery condition.
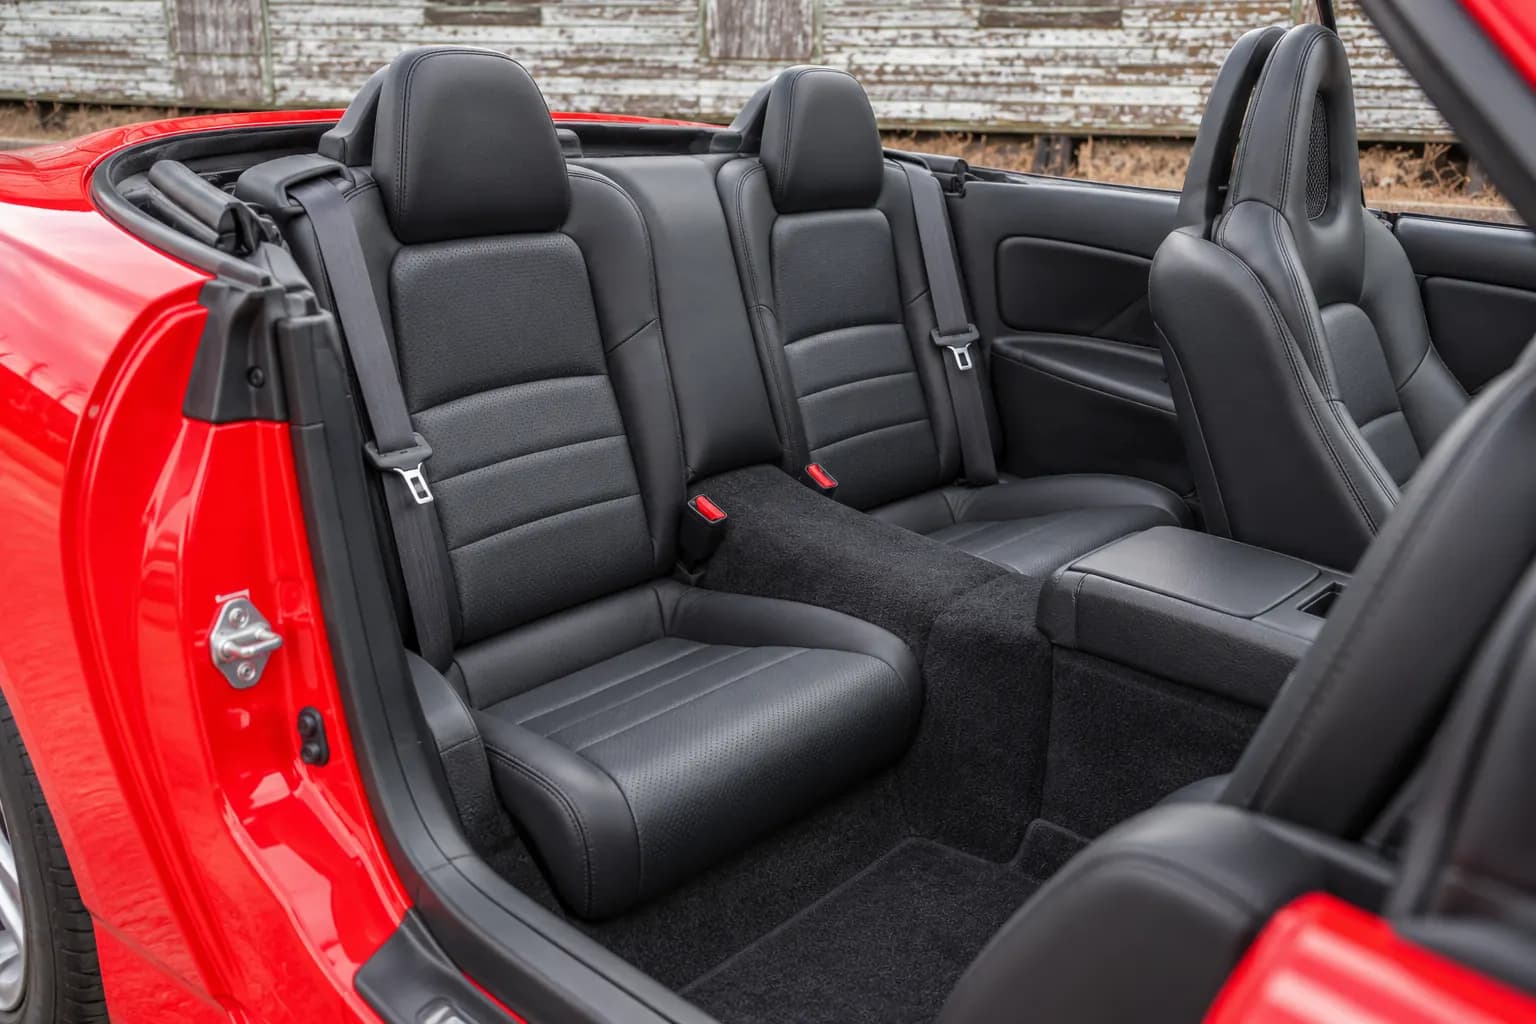
Rear seats, when fitted
For vehicles with rear seats, show the full bench, belts, headrests and legroom.
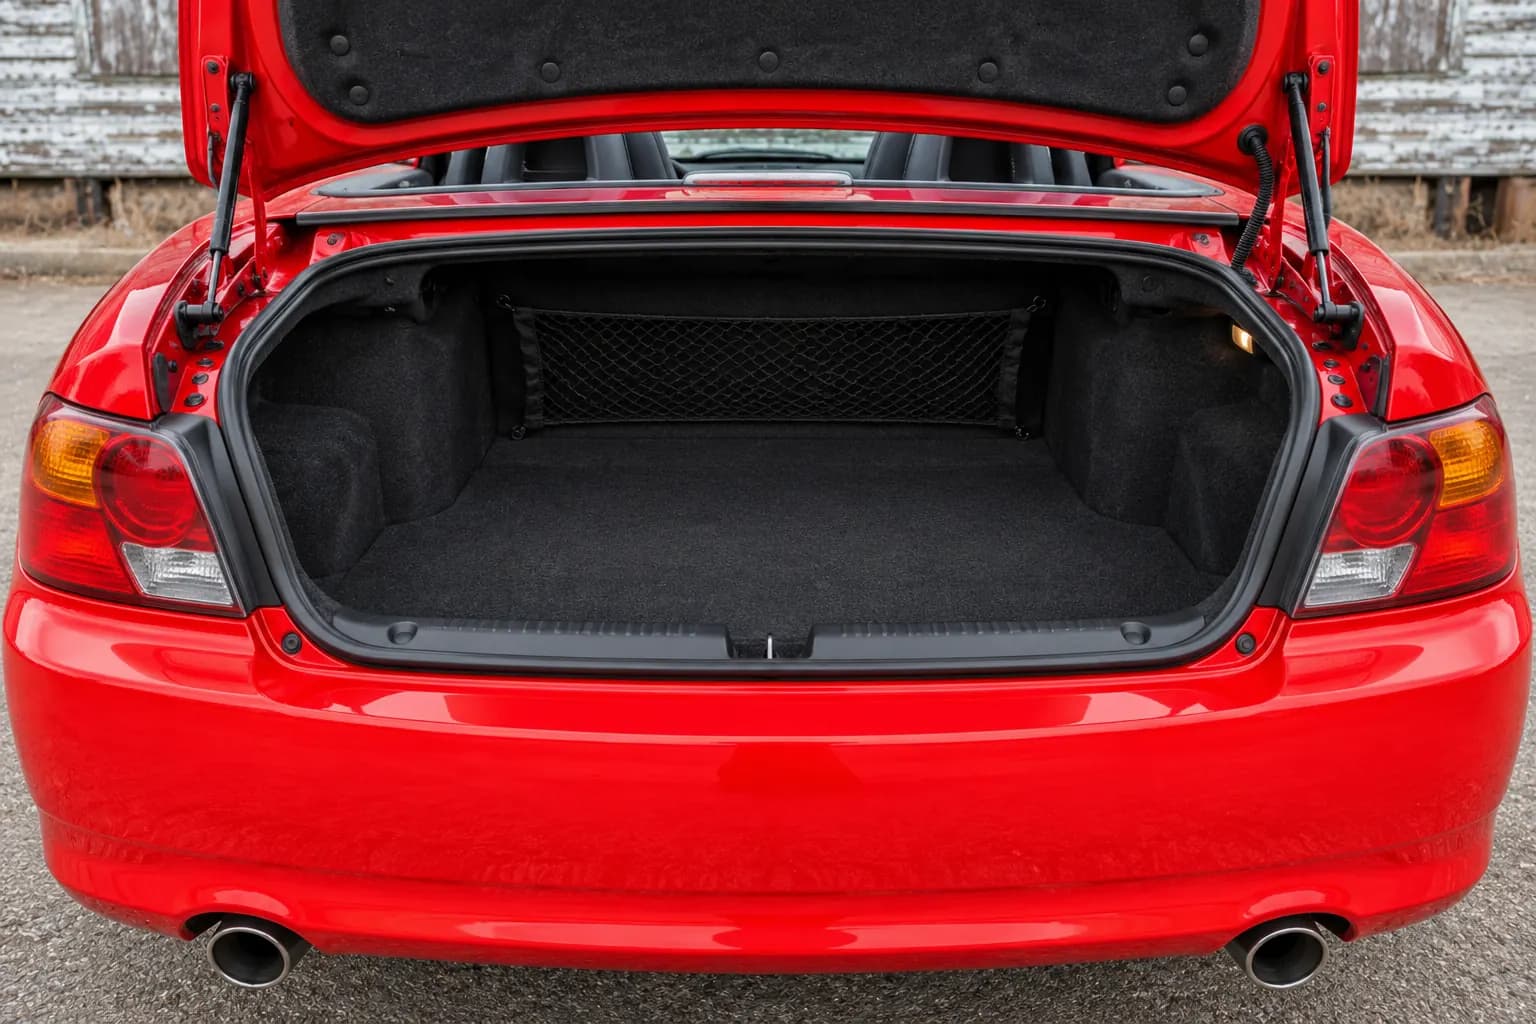
Trunk interior
Open the trunk and show the complete floor, side walls, threshold and supplied equipment.
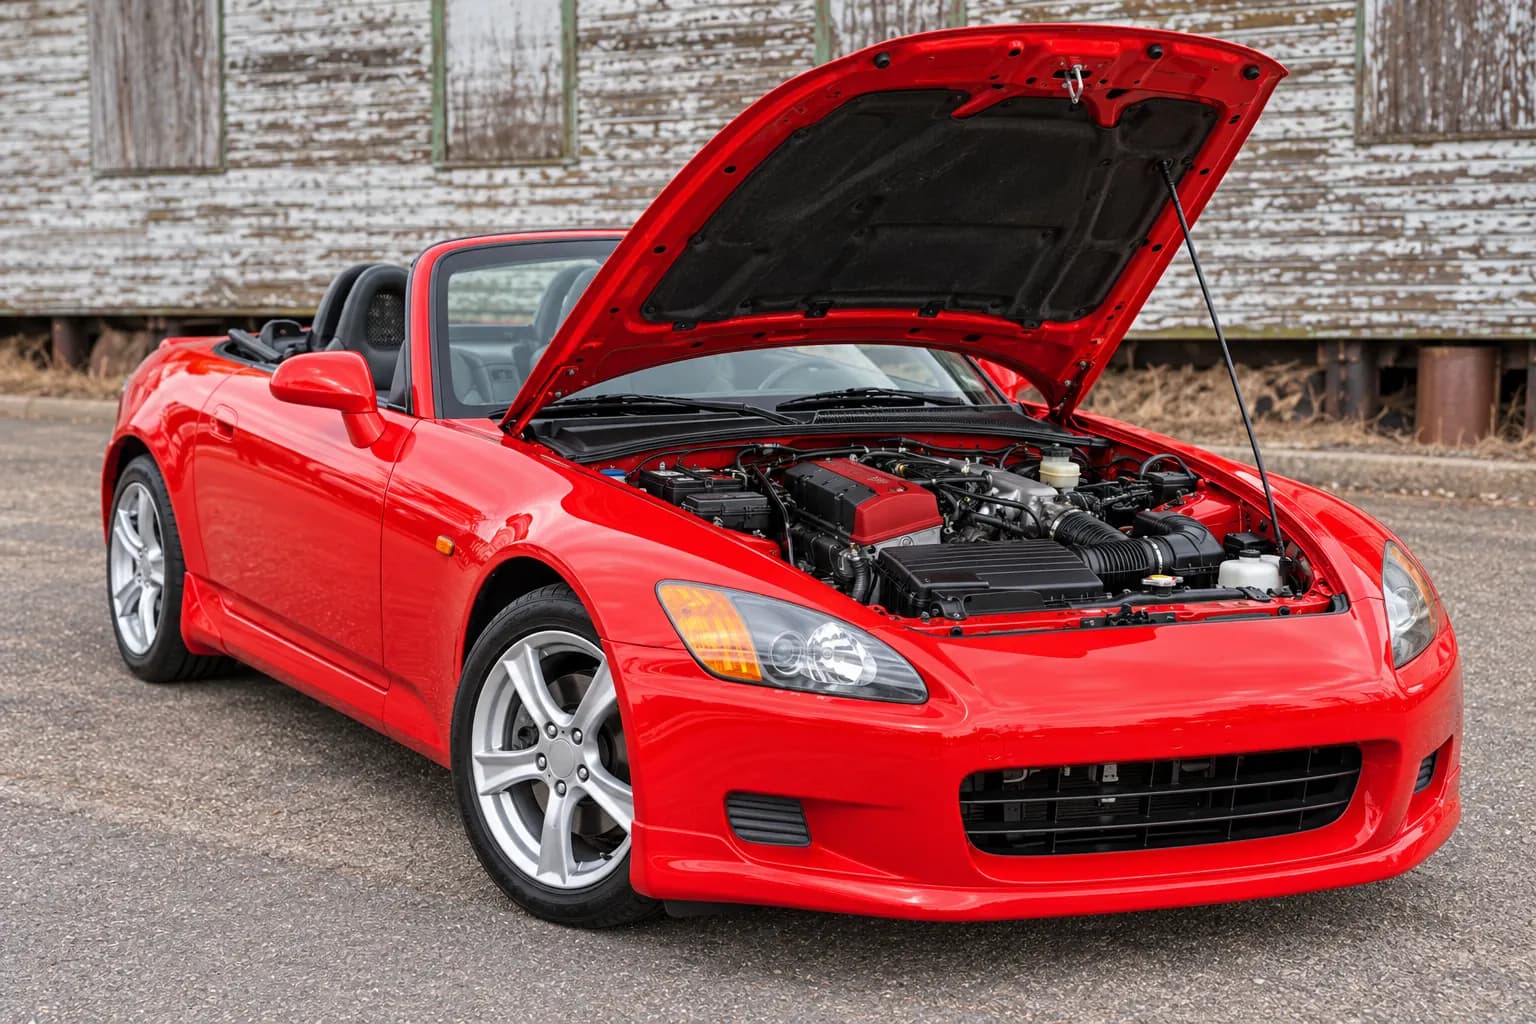
Open hood and engine bay
Photograph the complete engine compartment and hood underside from a safe position.
8 · Prepare the gallery
A consistent source capture gives Vehicle Studio something reliable to work with.
TrakarIA Vehicle Studio can help isolate the vehicle, prepare or replace the background, review plate privacy and organize a coherent buyer-facing gallery. The background can change; the vehicle geometry should not.
Keep the car complete, level, sharp and naturally proportioned in the source photo. Extreme phone tilt, ultra-wide distortion, cropped wheels and hidden bodywork can remain visible or produce an unnatural result after the background is changed.
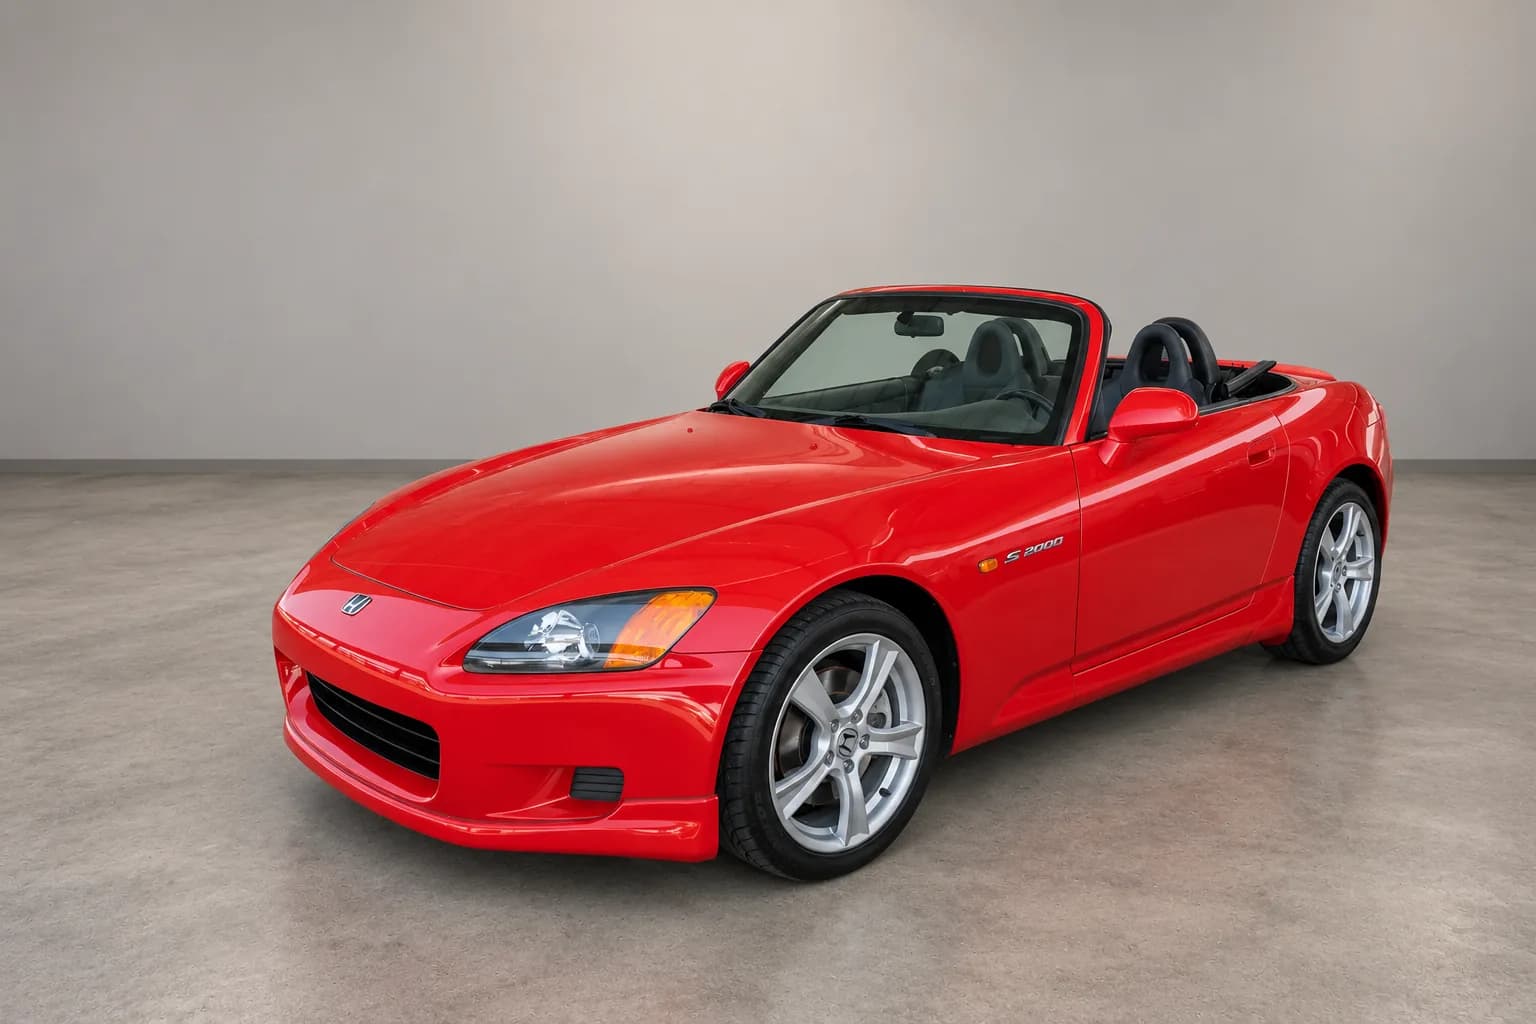
A new background can standardize the setting. It cannot restore a cropped wheel, remove motion blur or undo wide-angle distortion.
Standardize the setting
Prepare a cleaner, more coherent background across the selected views.
Review plate privacy
Check proposed plate treatment before the photo continues into public outputs.
Build the gallery
Choose the useful views, order them and select the strongest front three-quarter hero.
Reuse approved photos
Carry the reviewed gallery into vehicle pages, reports and the online Showroom.
9 · Before publishing
Check the complete photo sequence before publishing.
Confirm the 8 exterior views, useful exterior close-ups, condition evidence and all applicable interior and equipment views before the listing goes live.
Complete
The exterior walkaround, useful close-ups, visible defects and all applicable interior views—including mileage, trunk and engine bay—are present.
Consistent
Orientation, height, distance, lighting and vehicle configuration match.
Sharp
No motion blur, dirty lens, missed focus or blown highlights hide useful detail.
Honest
Visible condition and notable defects are shown clearly, not concealed by framing.
Privacy checked
Plates, VIN and personal document fields have been reviewed for the intended audience.
Common questions
Car sales photography questions, answered.
Can I take good car listing photos with a phone?+
Yes. Clean the lens, use the standard 1× camera, hold it horizontally and level, avoid digital zoom and keep the same height and distance around the vehicle.
How many photos should a car sale listing have?+
There is no universal number, but begin with 8 complete exterior views, then add the cabin, odometer, boot, engine bay, wheels, important equipment and honest condition details.
What is the best light for car photos?+
Bright overcast light or open shade usually gives the most even result. Avoid hard midday shadows, glare and mixed light that changes paint color across the series.
Can TrakarIA fix the background if the original photo is poor?+
Vehicle Studio can prepare or replace the setting, but the source vehicle still needs to be complete, sharp, level and naturally proportioned. It cannot reliably restore bodywork that was cropped or hidden.